DSLR Photography for Beginners: The 3 Basics
My journey with photography has been an interesting one to say the least. I started taking photographs with disposable cameras when I was a little girl. Through high school and early college I owned a series of digital “point + shoots” which were mostly used to capture selfies long before there was such a thing as an iPhone. In my final year of college, I was set to go on a study abroad trip to Kenya and I decided that I needed a proper DSLR. I bought one but had no idea how to use. While shooting, I left my camera in “Auto Mode” and hoped for the best.
I would say that my journey with DSLR photography really began when I was pregnant with Roman. I purchased my first decent camera, a Canon Rebel, which I highly recommend if you are just starting out with DSLR. I was pregnant and I wanted to capture my baby’s life properly. I began venturing out of the safety of Auto Mode and experimenting with the scary world of Manual Mode. However, to be completely honest, I had no idea what I was doing. Most of the time I would just adjust the settings until everything “looked good” in the preview screen and then I would snap. I didn’t know what any of the settings actually meant or how to make them do what I wanted them to do.
I watched a bunch of YouTube videos and whatnot, but that sort of thing doesn’t usually work for me. It was trial & error that eventually got me started on the right track. Then one day, I read a post, much like this one, by one of my favorite bloggers and I had a light bulb moment. She broke DSLR photography down to these 3 basics — ISO, Aperture, and Shutter Speed — and it all clicked for me. Once I understood these 3 things, the magic of DSLR was unlocked to me. So now, I am excited to share them with you!
Before I get started, please forgive my non-technical terminology. Being entirely self-taught, I have no formal training in photography or the language of photography. This information is based only on my own non-expert experience with my camera over the years.
ISO
ISO is basically your camera’s sensitivity to light. The lower your ISO (ISO 100) the less sensitive your camera is to light and the higher the ISO (ISO 8000), the more sensitive it is. You will adjust your ISO depending on how much light you have to work with. If you are outside in full sunlight, you will want to keep your ISO all the way down at ISO 100 — you don’t need any additional light. On the other hand, if you are shooting indoors and have little light to work with, you will want to bump up your ISO.
Keep in mind that the higher you push your ISO, the grainier your photograph will be. So it is ideal to have more light than to have to bump your ISO. This is why photographers will bring in flash or lights to low-lit situations, so that they do not have to bump up their ISO and risk producing grainy images.
Generally, the better (more expensive) the camera is, the better it will handle low-light situations. This is a large part of the reason that I finally upgraded from my Rebel to my current camera, a Canon 5D. Once I started shooting weddings, it was important that I had a camera that could handle shooting in low-light and indoor venues.
Aperture
Aperture does not have to do with your camera, it has to do with your lens. Your camera’s lens is like an eye and the aperture is like its pupil. Aperture gets bigger and smaller as you adjust your settings, letting in more or less light. Aperture controls two things — how much light is allowed into your camera and depth of field.
First with regard to light, a large aperture setting has a small number, for example f1.4 lets in a lot of light. A small aperture setting has a large number, for example f8 lets in much less light.
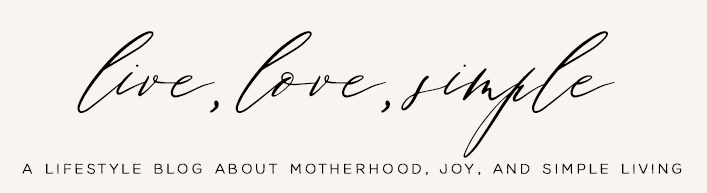
Next, with regard to depth of field, a large aperture like f1.4 will keep your subject in focus and it will blur out your background (creating the much desired bokeh effect). While a small aperture like f8 will keep most of your shot in focus no matter where your subject is located.
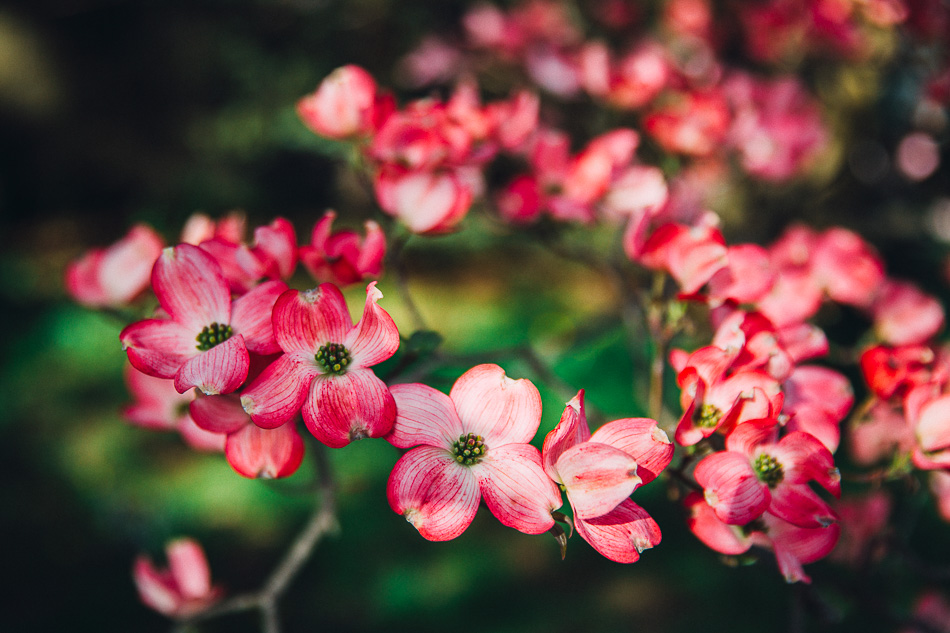
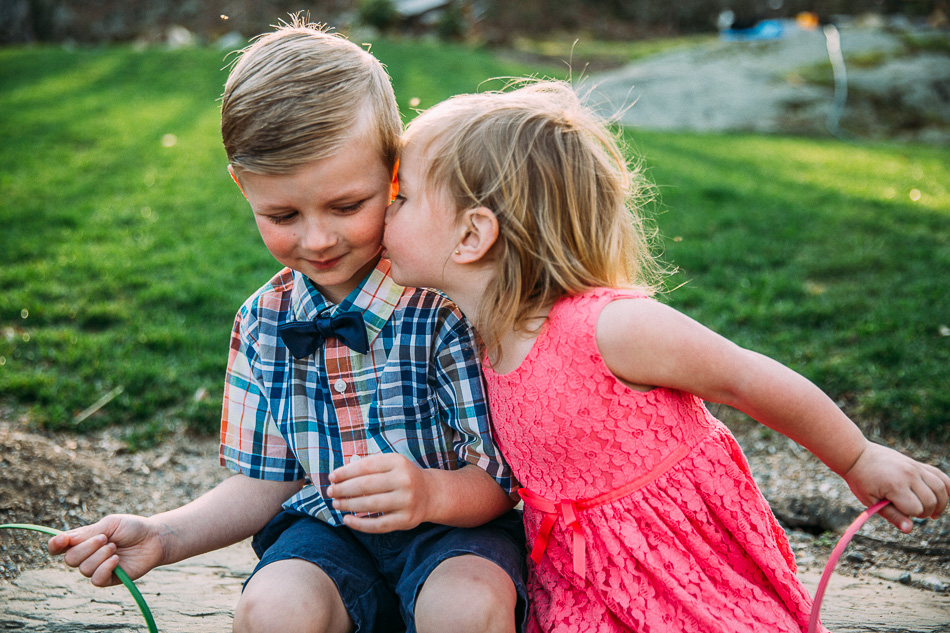
Since I imagine that many of you reading this are wanting to take better photographs of your children, I suggest setting your aperture to f2.8 or f4, this will allow you to keep your subject in focus until you’ve played with this setting enough to discover your own preferences.
Shutter Speed
Shutter speed is essentially the exposure time, or the length of time the camera’s shutter is open to light. I always shoot at at least 1/125 (of a second). I wouldn’t recommend going any lower unless you’re using a tripod or have very steady hands. If you shoot lower than that, you will get blur. This is especially true when photographing people, especially wiggly children. In general, a slow (low) shutter speed like 1/125 will capture movement as blurred. A fast (high) shutter speed like 1/1000 will freeze action in its place with clarity.
So, there you have it. Those are the three basics of DSLR photography. The most important advice that I can give is practice, practice, practice. That’s what will hone your skill more than anything else.
I will share more posts on the topic of photography soon. So if you have any questions about photography, please leave them in the comments so that I may answer them in my future posts!
Special thanks to Jodi of Practising Simplicity for her post on this subject which changed my relationship with photography forever.