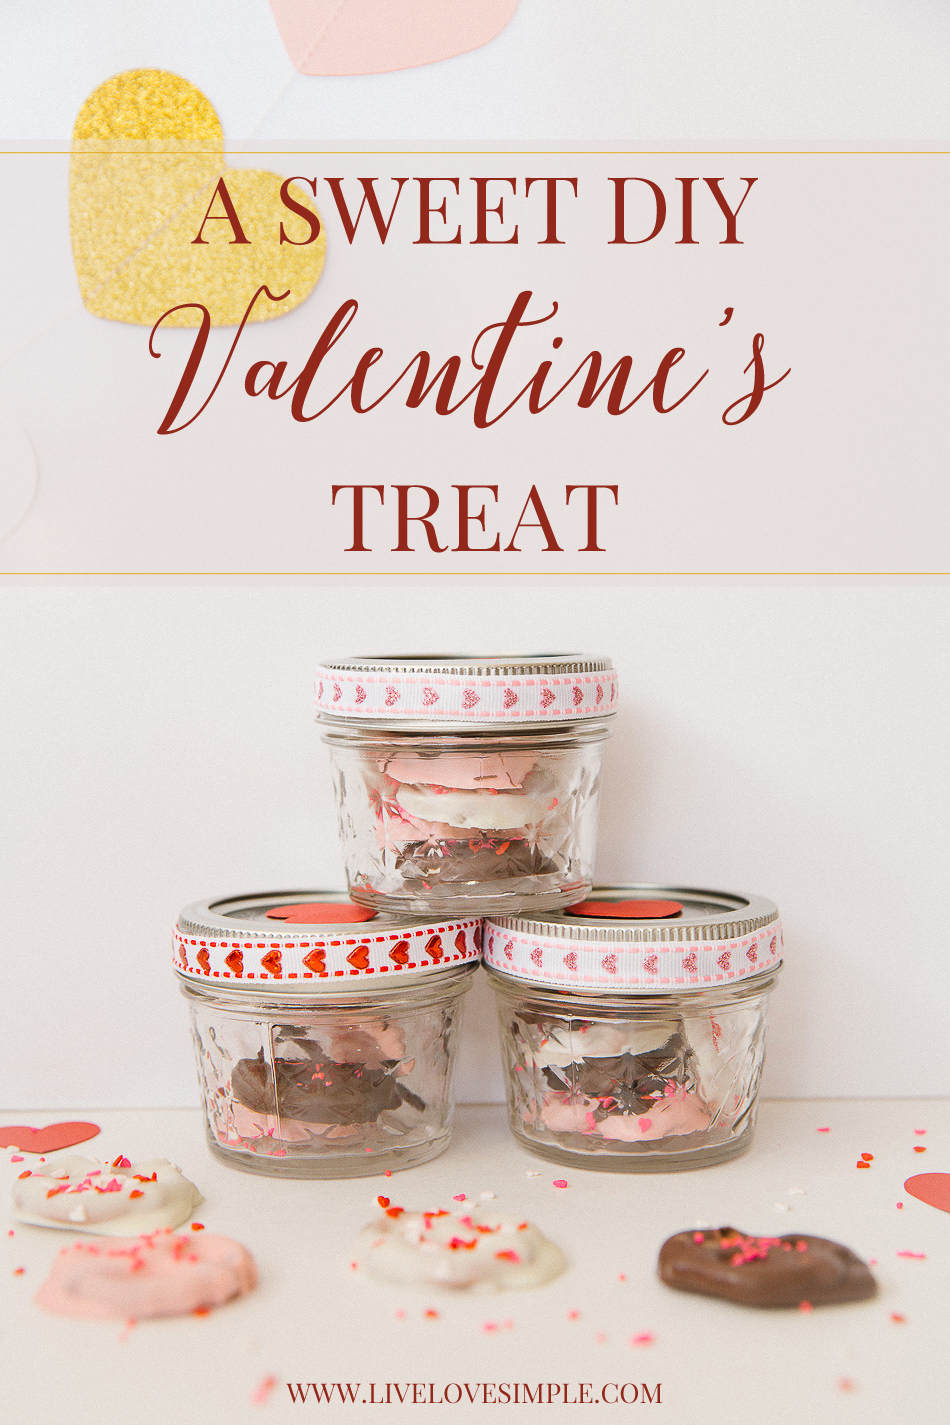
A Sweet DIY Valentine’s Treat
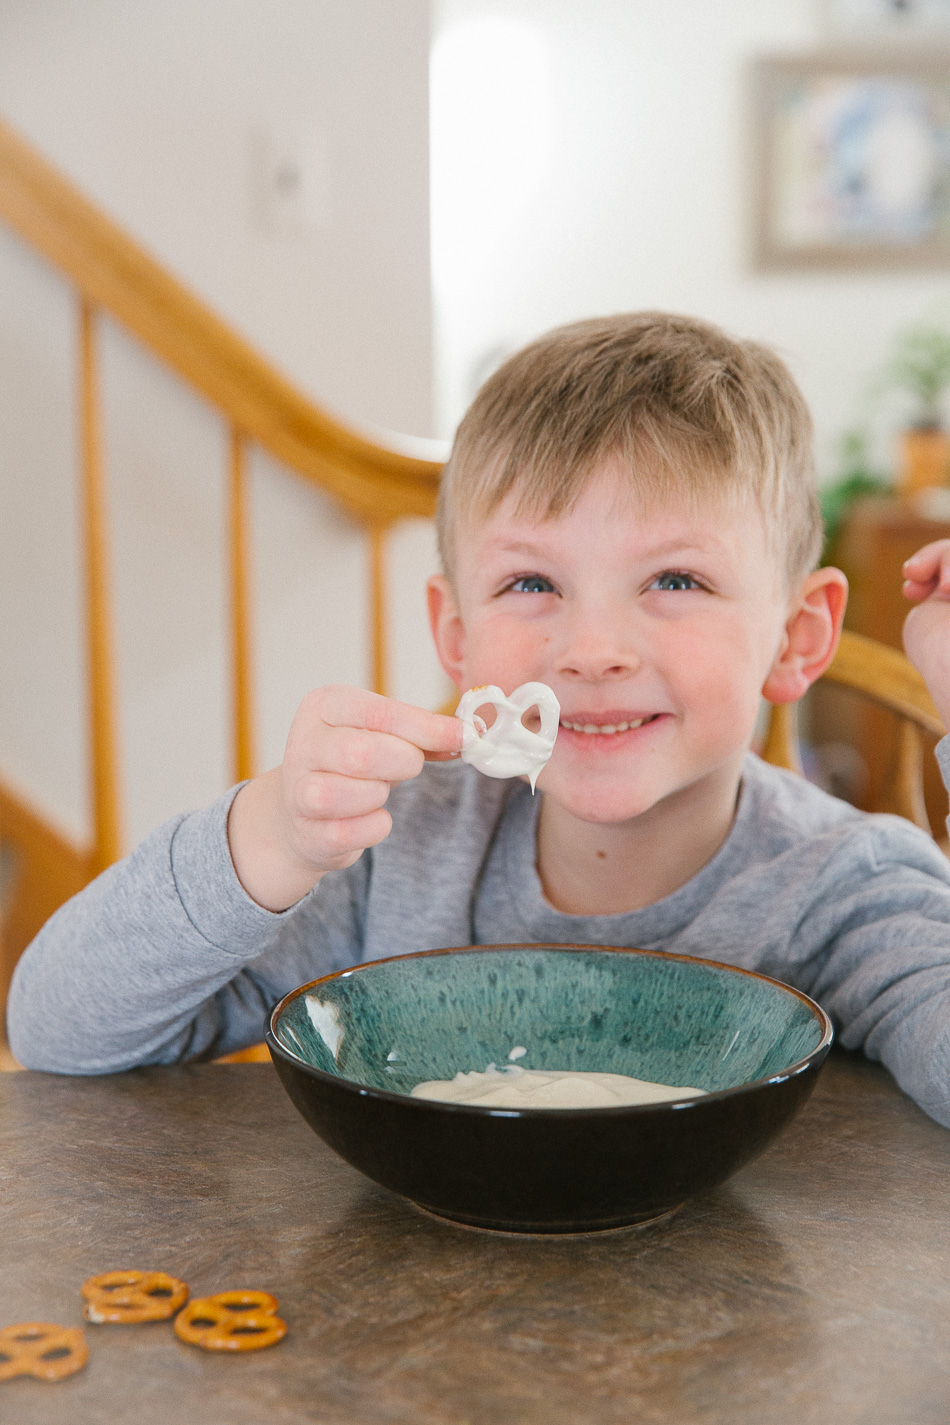
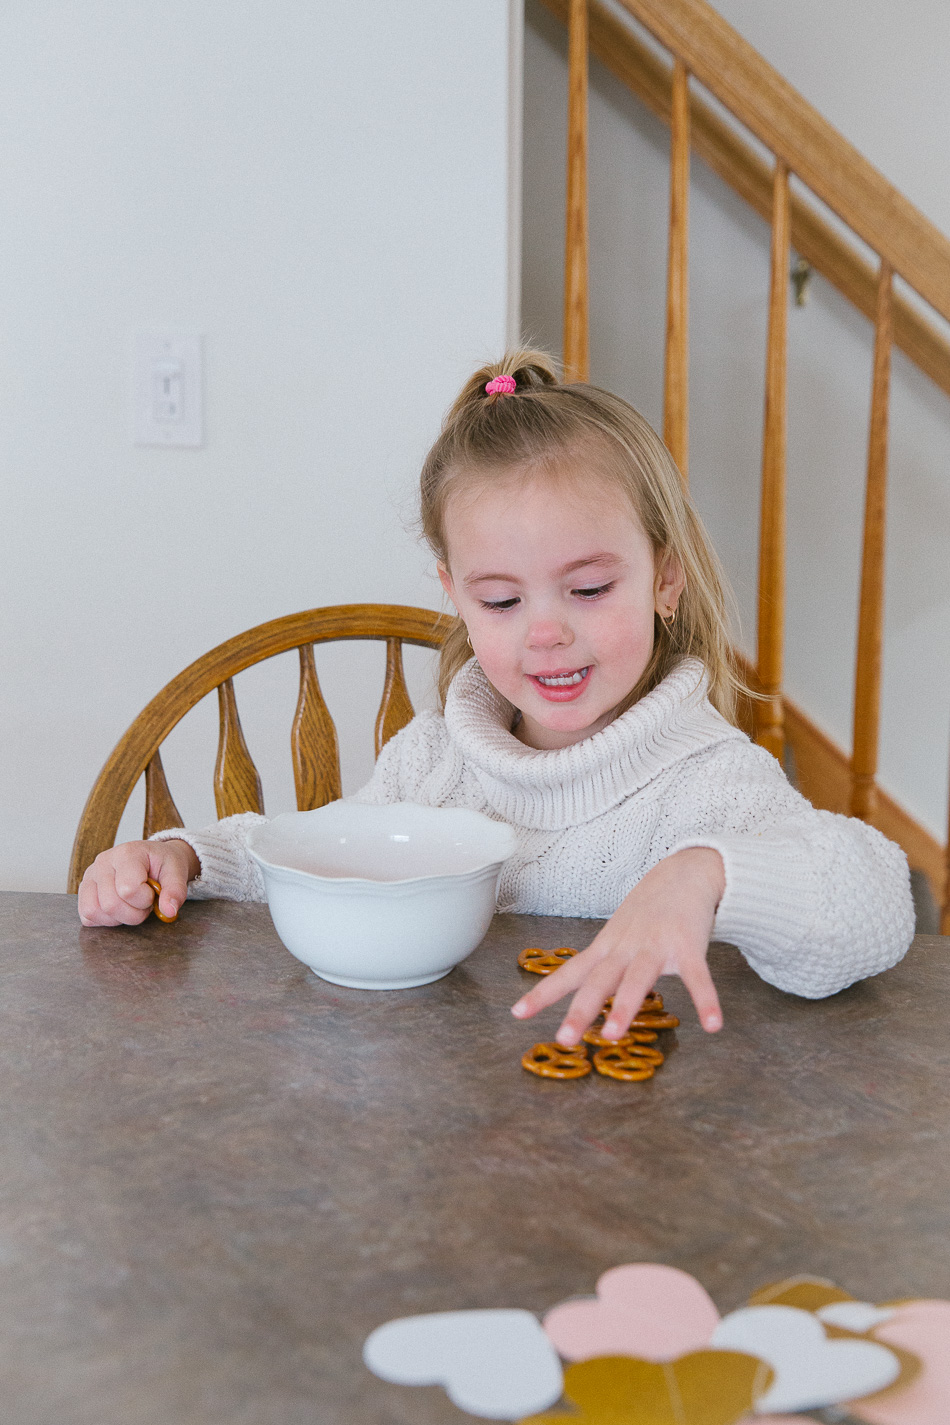
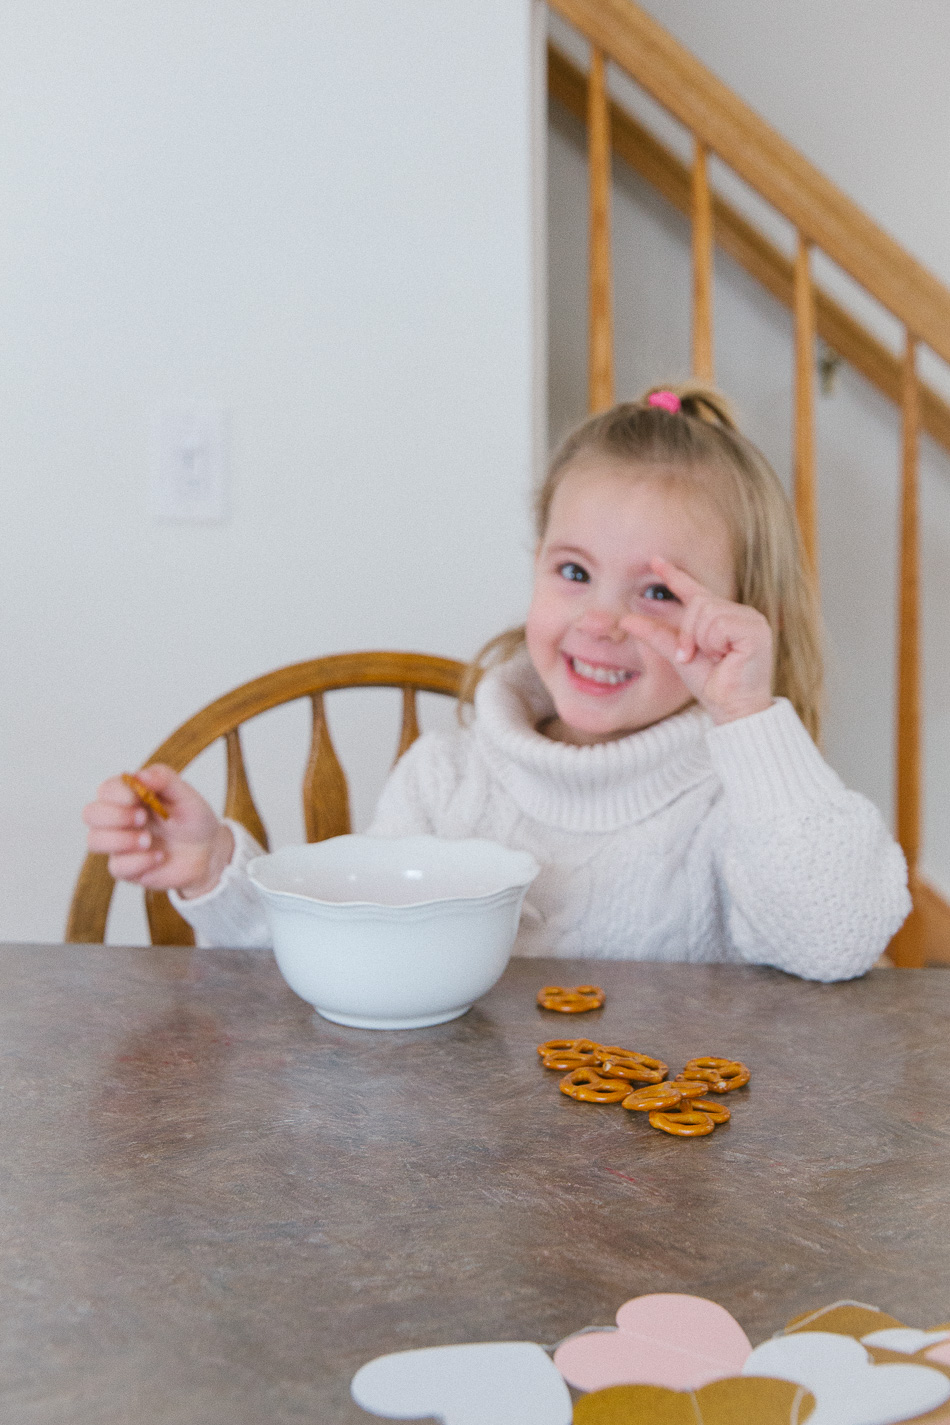
Happy February, friends! I hope that your “love” month has been off to a beautiful start. It’s around this time each winter that the cabin fever really starts to set in for us. Here in the northeast, the winters are dark and cold. I am always looking for indoor activities that will take up a few hours, keep little hands busy, and put smiles on our faces. No matter what the mess, it’s worth it.
We first tried our hand at melting & dipping with chocolate when we made spooky pops for our Halloween party. We had so much fun with that project that I wanted to try something similar for Valentine’s Day. This time around we decorated pretzels to make sweet Valentine treats for Roman’s teachers. Of course we enjoyed a few ourselves, too. 😉
Holidays have always meant so much to me. I was so blessed growing up with my mother & father who always made sure to give us something special on each holiday, letting us know how loved & cherished we were. On Valentine’s Day morning we’d wake up to a heart-shaped box of chocolates and a sweet card filled with loving words. I am so grateful to experience the joy of sharing the holidays with my own babies now. Finding crafty ways to celebrate my love for and with them, is one of my life’s greatest blessings.
I hope that you’ll enjoy this fun, little Valentine DIY craft as much as we did.
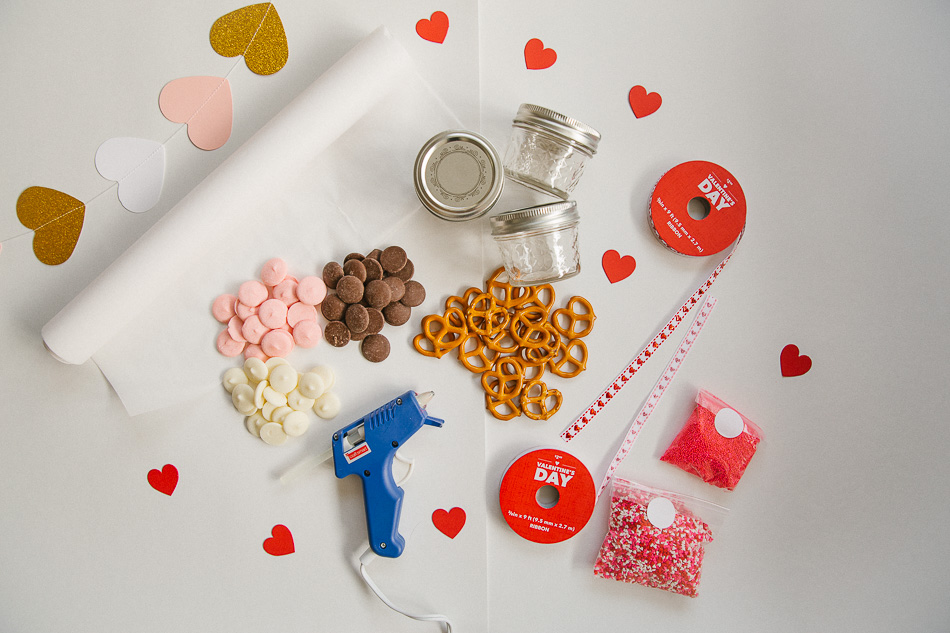
Here’s what you’ll need:
- Mini Ball Mason Jars
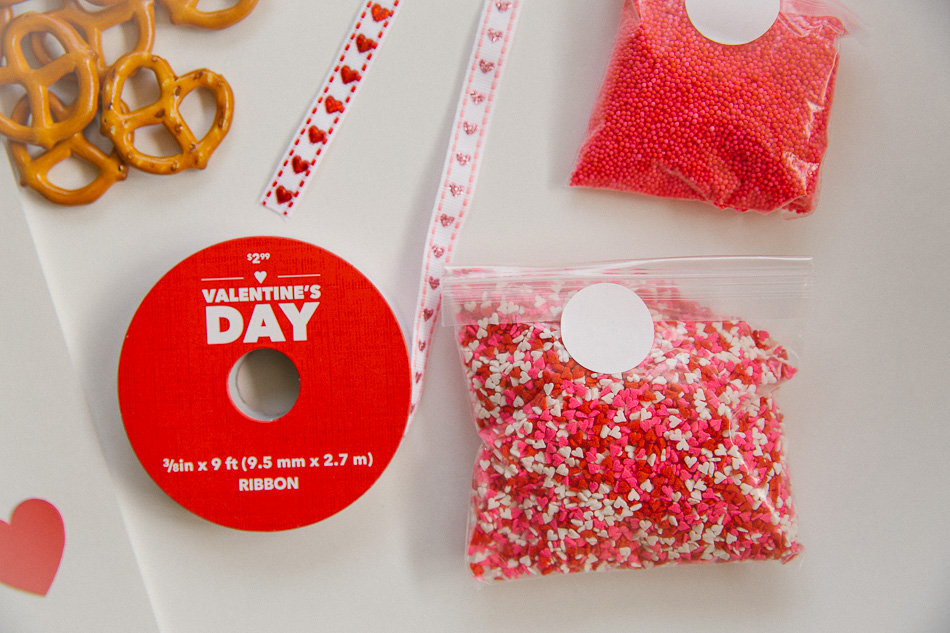
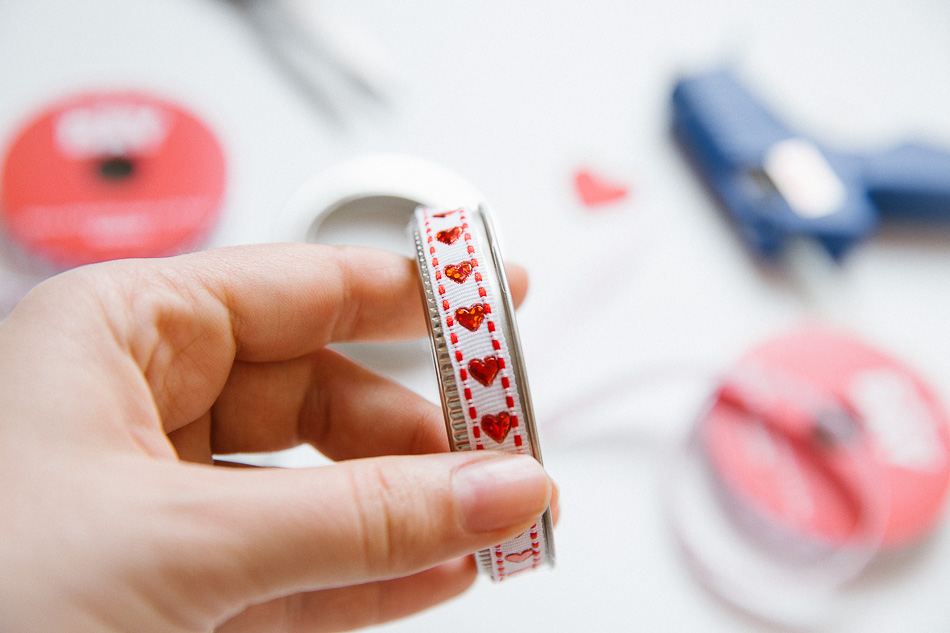
- Valentine Ribbon
- Hot Glue Gun
- Chocolate Melts (I’ve experimented with a bunch of different kinds and these are my absolute favorite for melting & dipping)
- Mini Pretzels
- Valentine Sprinkles
- Small Paper Hearts
- Parchment Paper
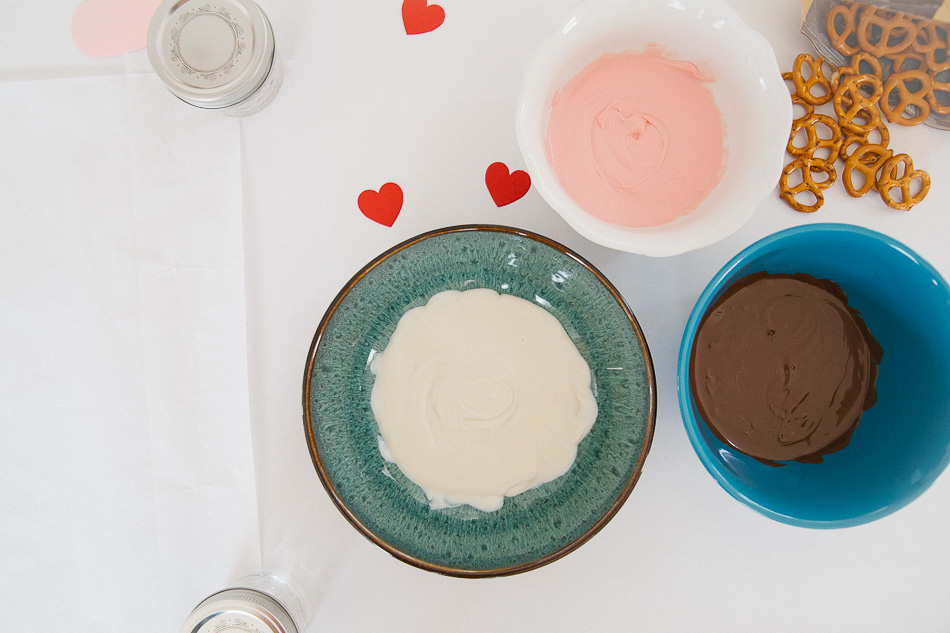
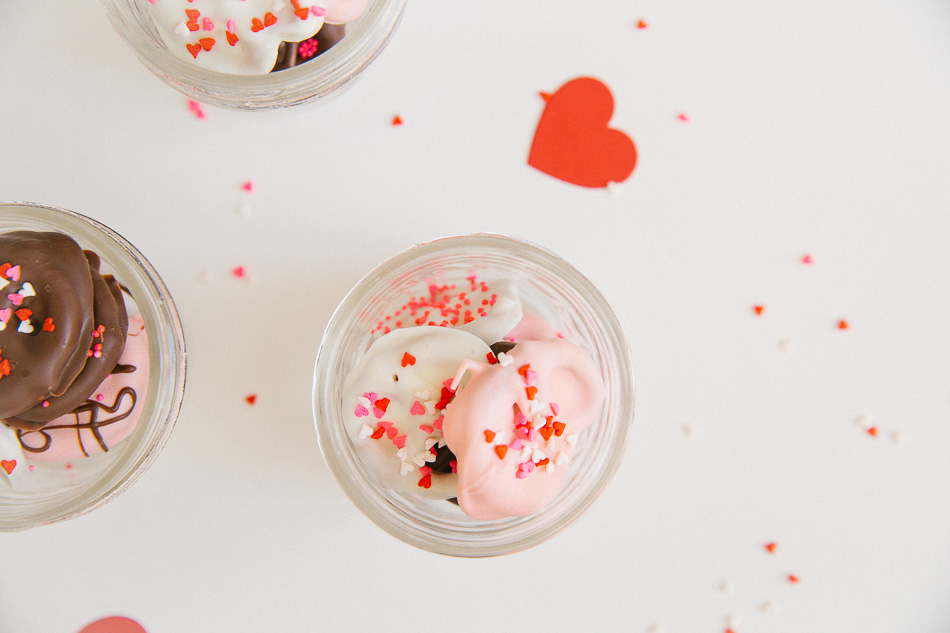
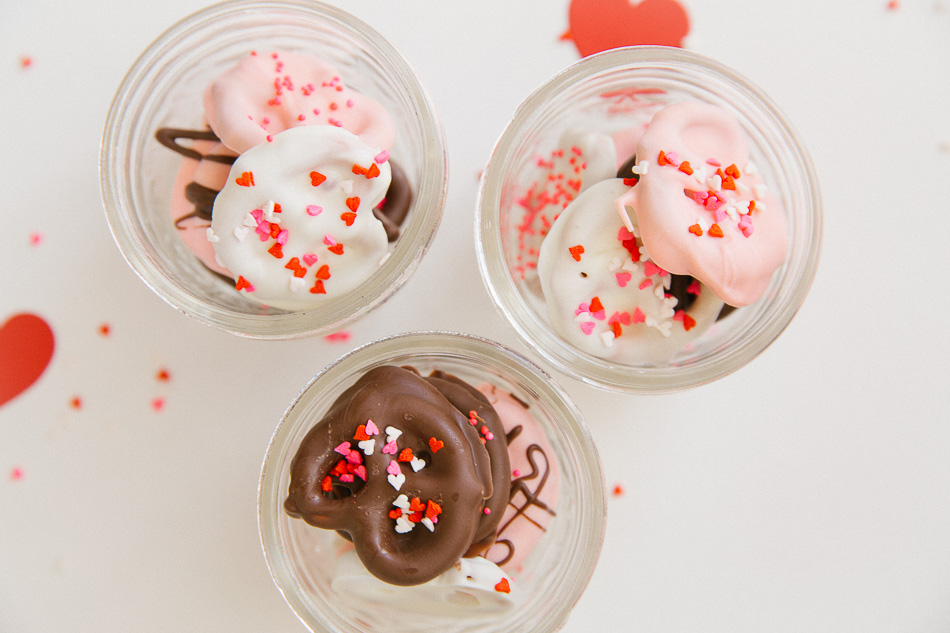
First, you’ll want to set out three bowls and fill each bowl with different color melts. We used chocolate, white chocolate, and strawberry melts. We put about half of a 10-ounce bag in each bowl. You’ll want to melt each bowl one at a time. This is an important step in the process, because if you burn your chocolate it will be ruined. I put the wafers in a microwave safe bowl and initially set them to melt in the microwave for 30 seconds. After that, if it’s not melted, try 15-second increments. Stir the wafers after each increment to see if they are melted enough. Note, wafers will hold their shape until they are stirred! Always check them by attempting to stir them before heating them further.

Once your chocolate is ready, you’re ready to start dipping and decorating. Lay out a piece of parchment paper. Use four jars to hold the corners of the paper down so that it doesn’t roll up. Now dip your pretzels into each color of chocolate as you desire. If you want to put sprinkles on your pretzels, be sure to do so quickly after dipping. Once the chocolate begins to harden, the sprinkles will not stick. Also, don’t worry about laying your melty, chocolatey pretzels on the parchment. They will dry beautifully and peel right off with no mess. Finally, you can use kitchen tongs for dipping (if you’re making gifts) or you can use your hands if you’re making them for yourself.
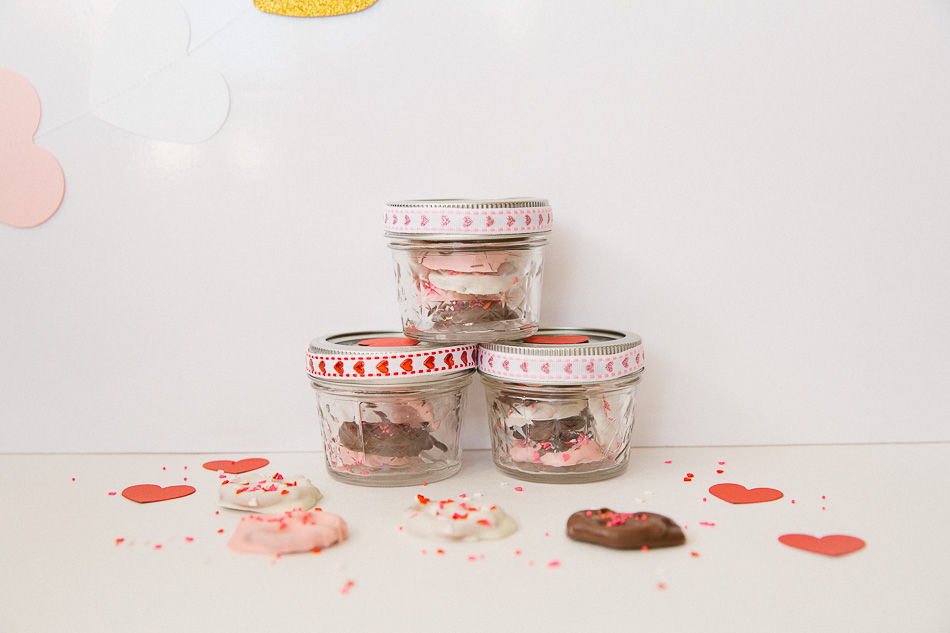
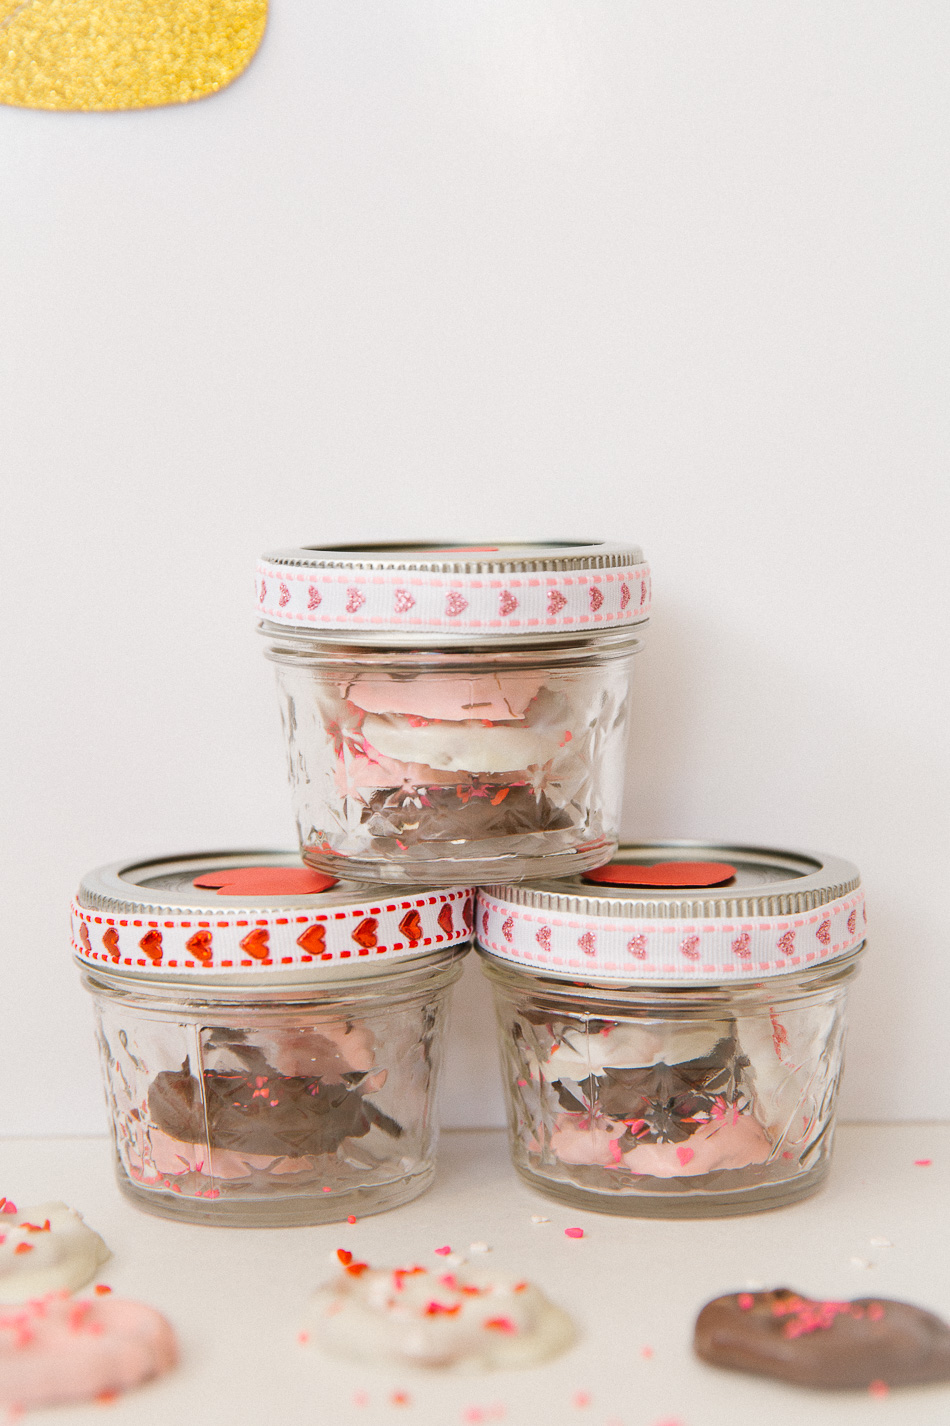
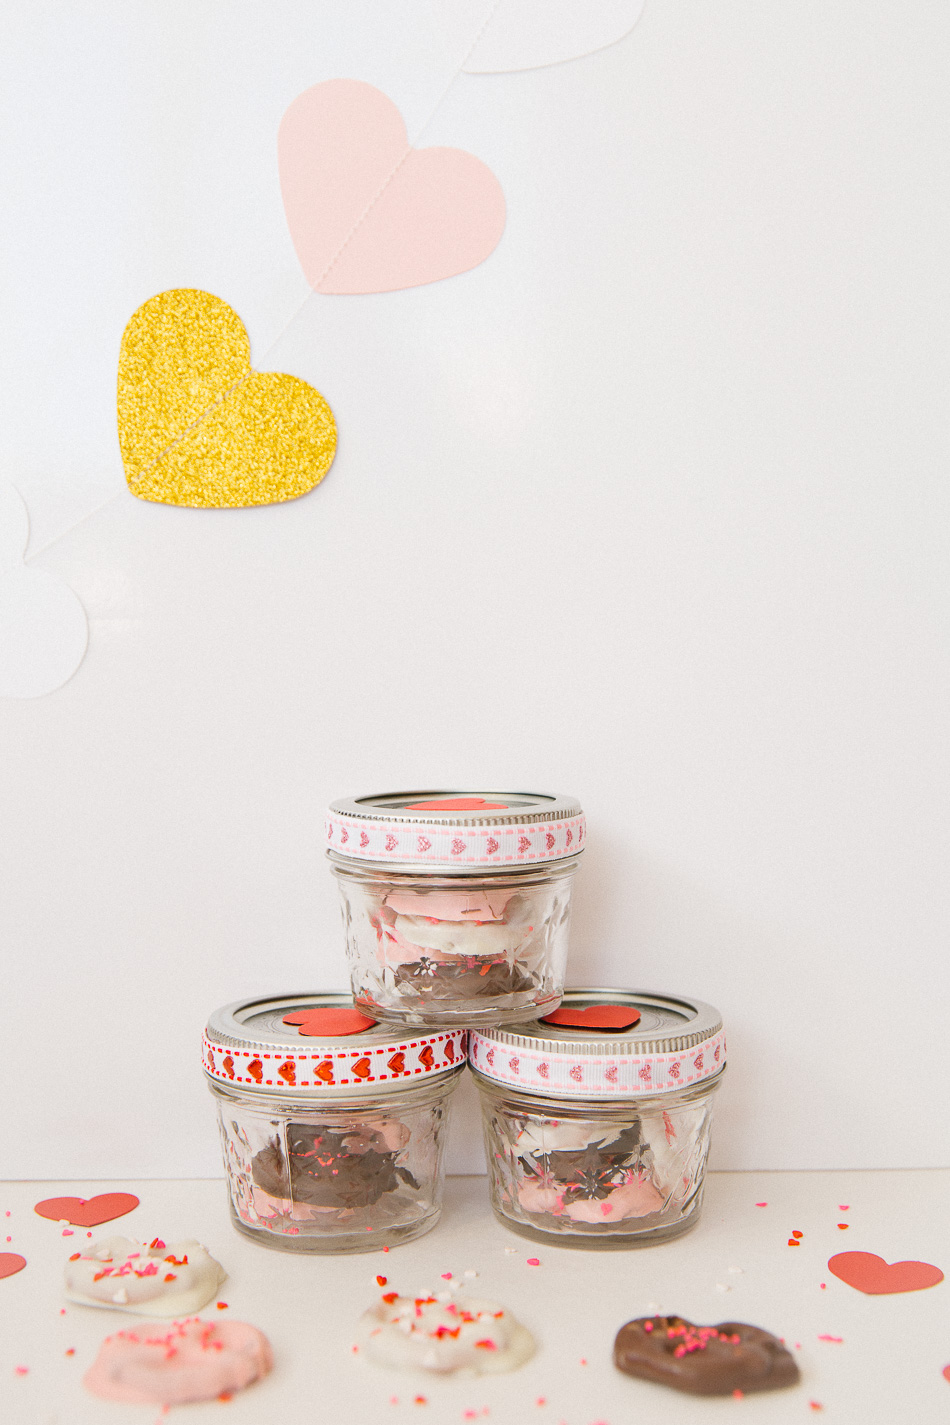
Once all of your pretzels are decorated and set down to dry, you can start working on your jars. Turn on your hot glue gun and allow it to heat up. Remove the lid from each jar and hold the lid ring in your hand. Measure a piece of ribbon long enough to wrap around the ring with a little extra space for overlap and glue. Put your ribbon down and squirt hot glue all the way around your ring. Quickly affix the ribbon around the ring before the glue dries. I found it easier to glue the ring one half at a time or else my glue dried too quickly and the ribbon didn’t stick. Add some extra glue to the overlapping ribbon to ensure a tight, firm hold.
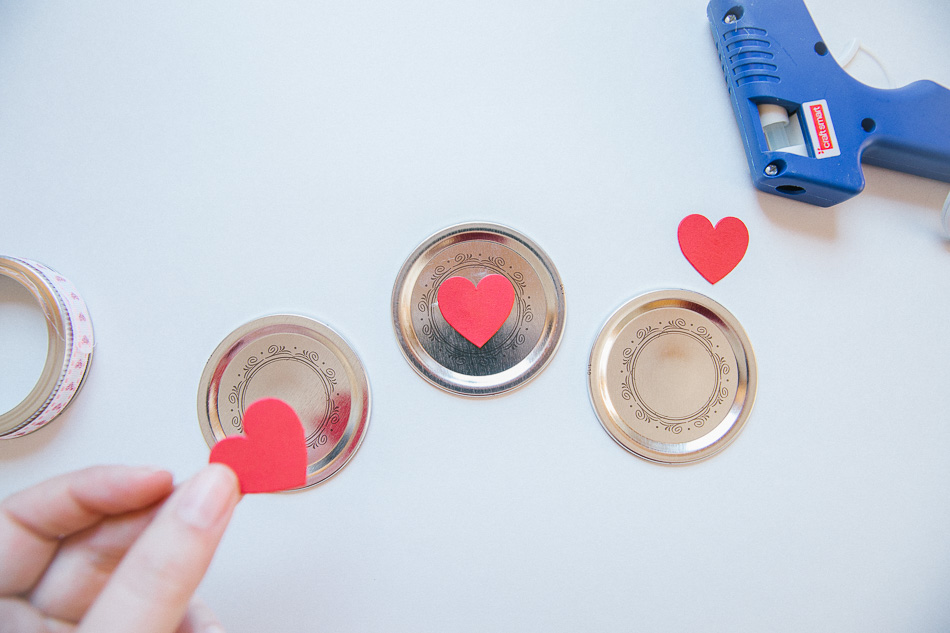
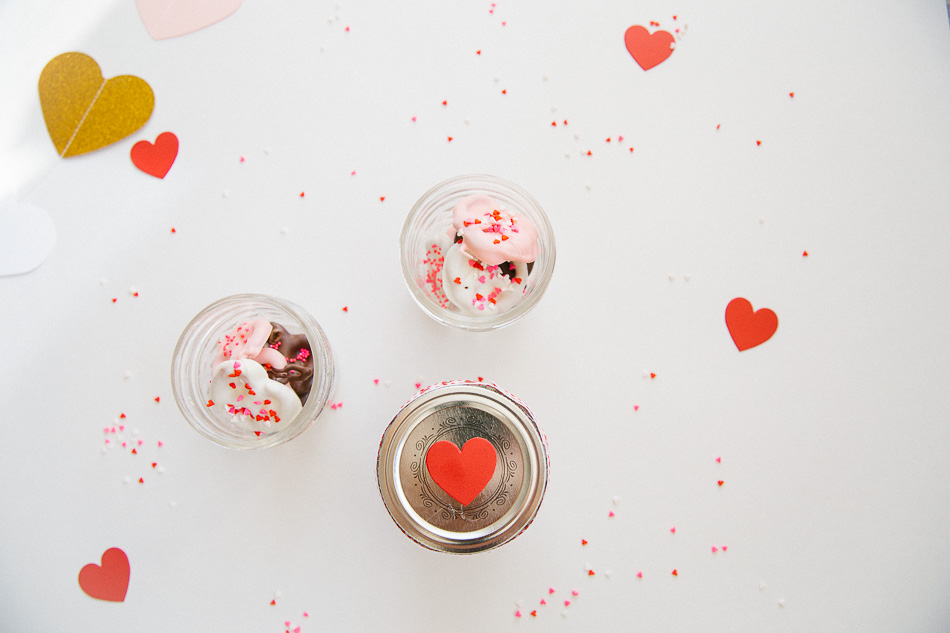
Next lay the circle parts of the lids down flat. Squirt a dab of hot glue in the center of the lid and place a heart on it. Again, I recommend doing each one, one at a time, to prevent your glue from drying too quickly.
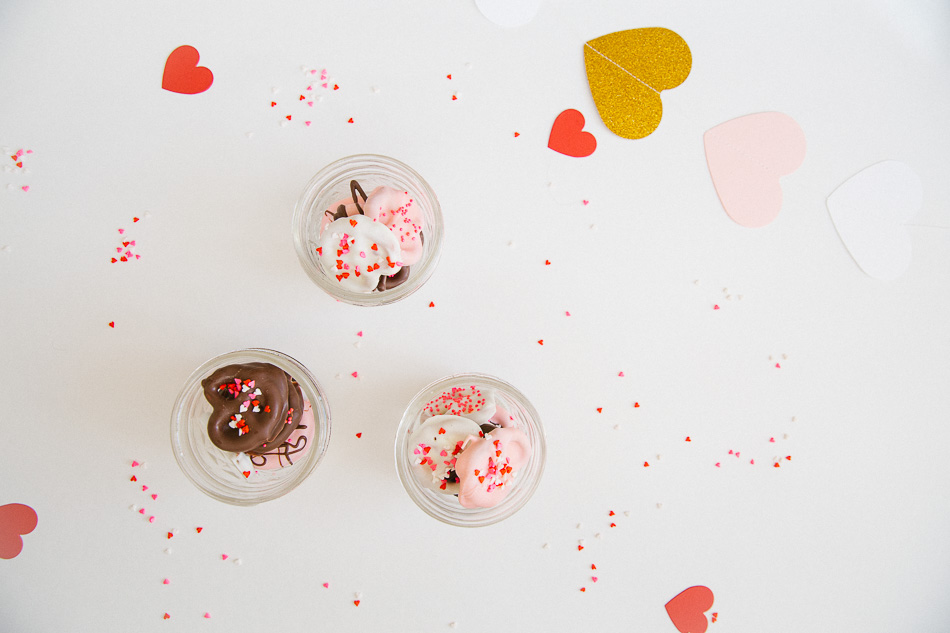
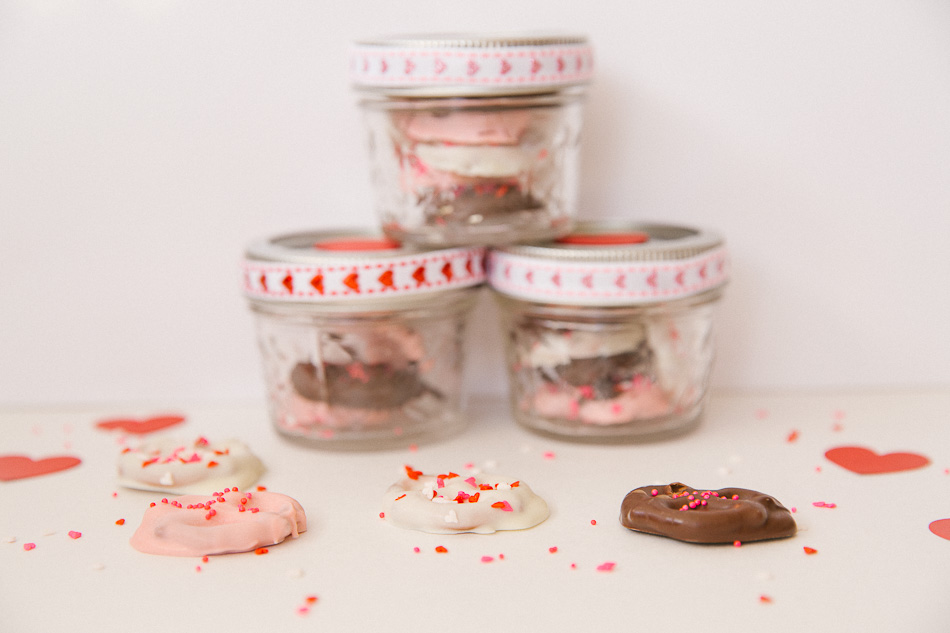
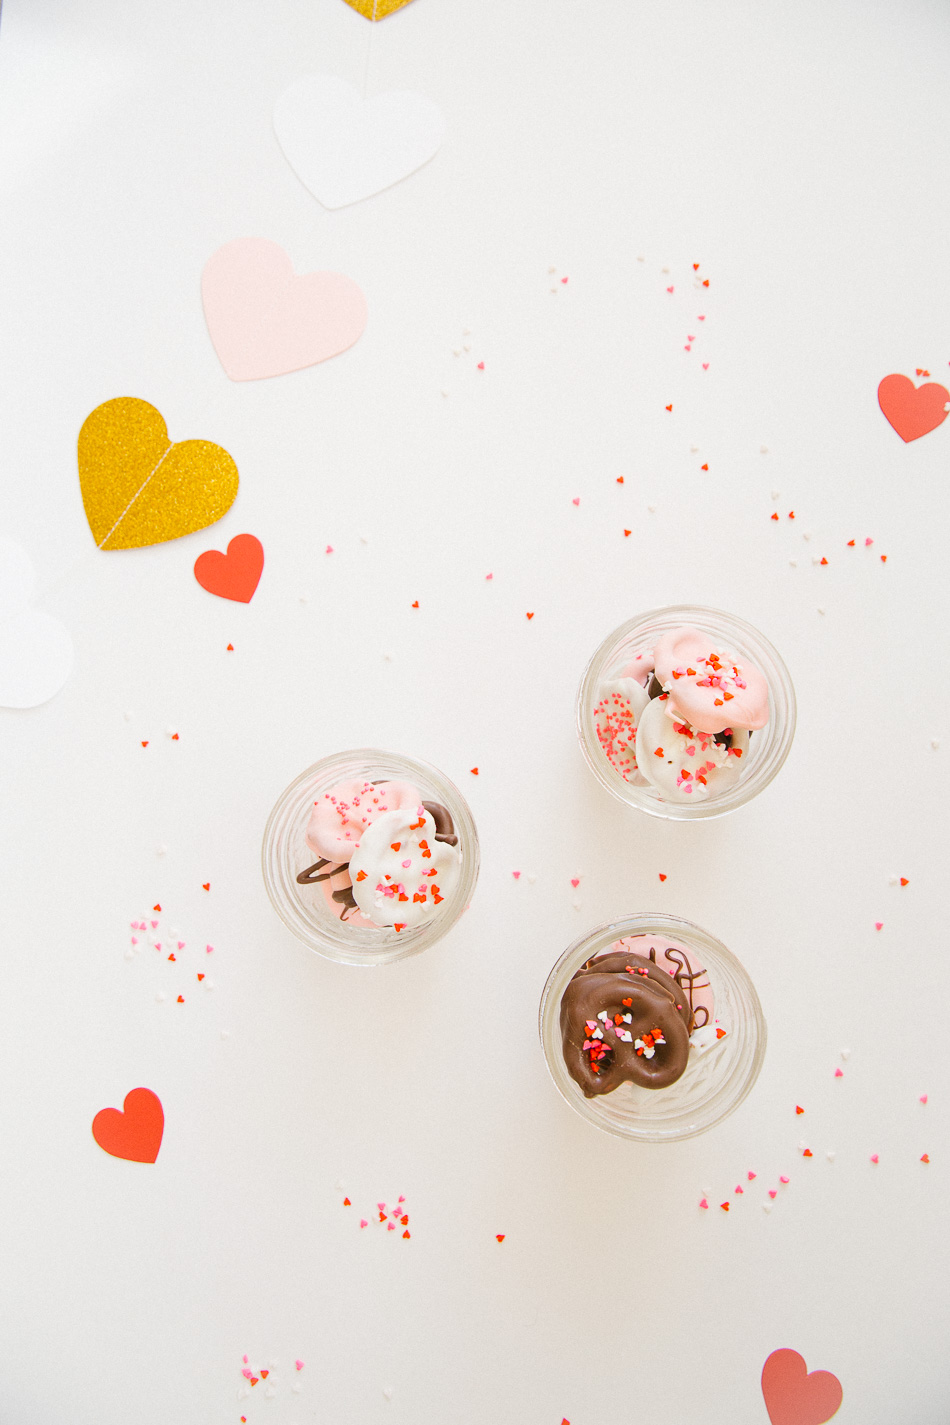
Now you’re ready to fill your jars. Fill each jar with an assortment of pretzels. Feel free to sprinkle in some extra Valentine sprinkles for a pretty touch of extra love. Tightly screw the lids into place and you’re sweet DIY Valentine treats are all ready to be gifted!
I hope that you guys enjoyed this little DIY as much as we enjoyed putting it together for you. Wishing you lots of love, hugs, and kisses for this month of love, and for all of the regular days, too. xo