
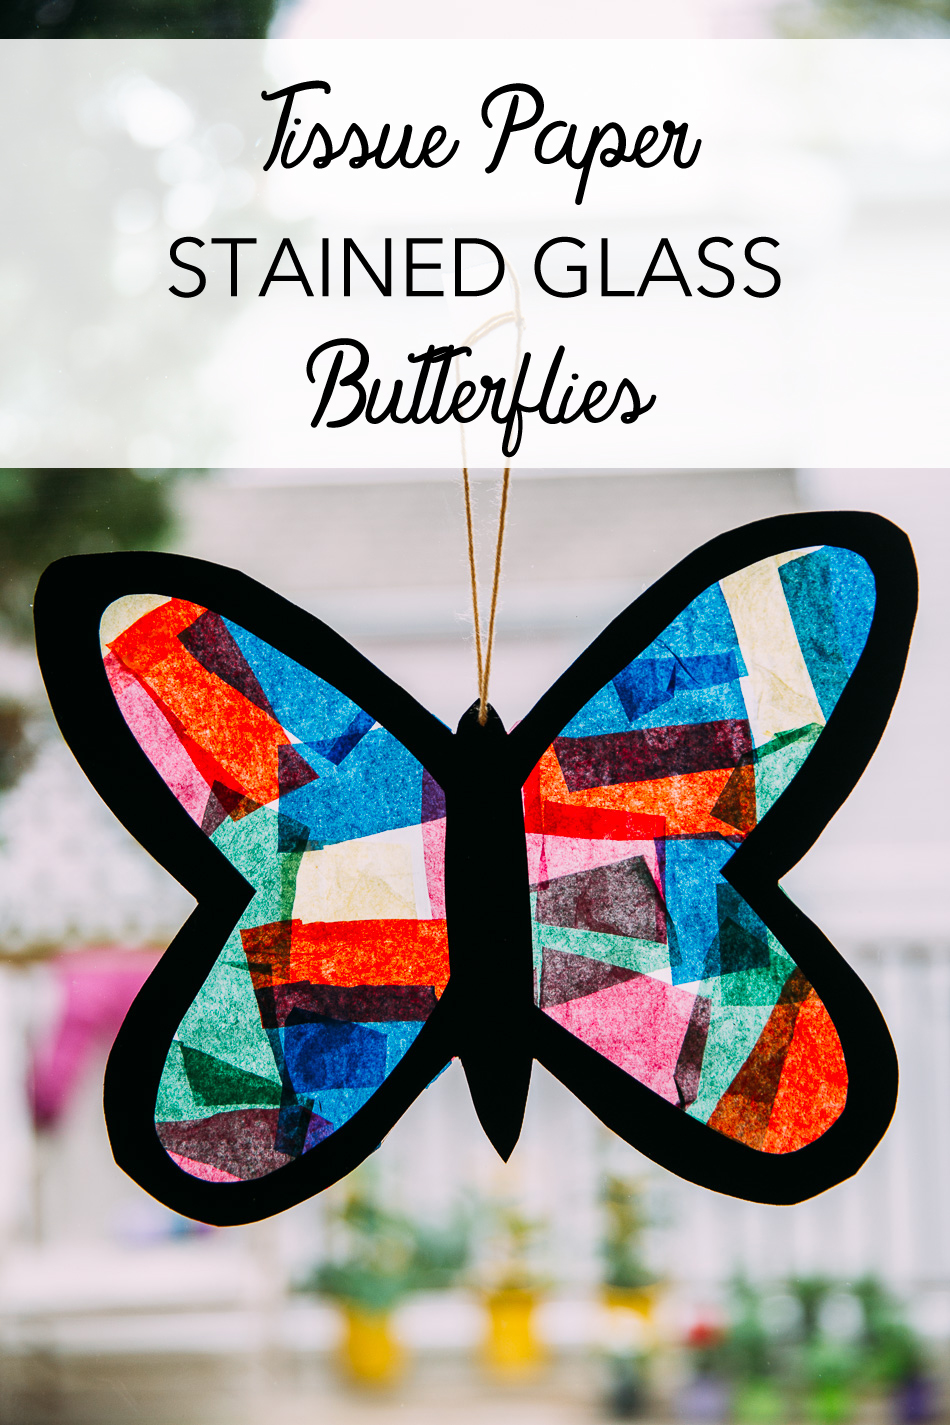
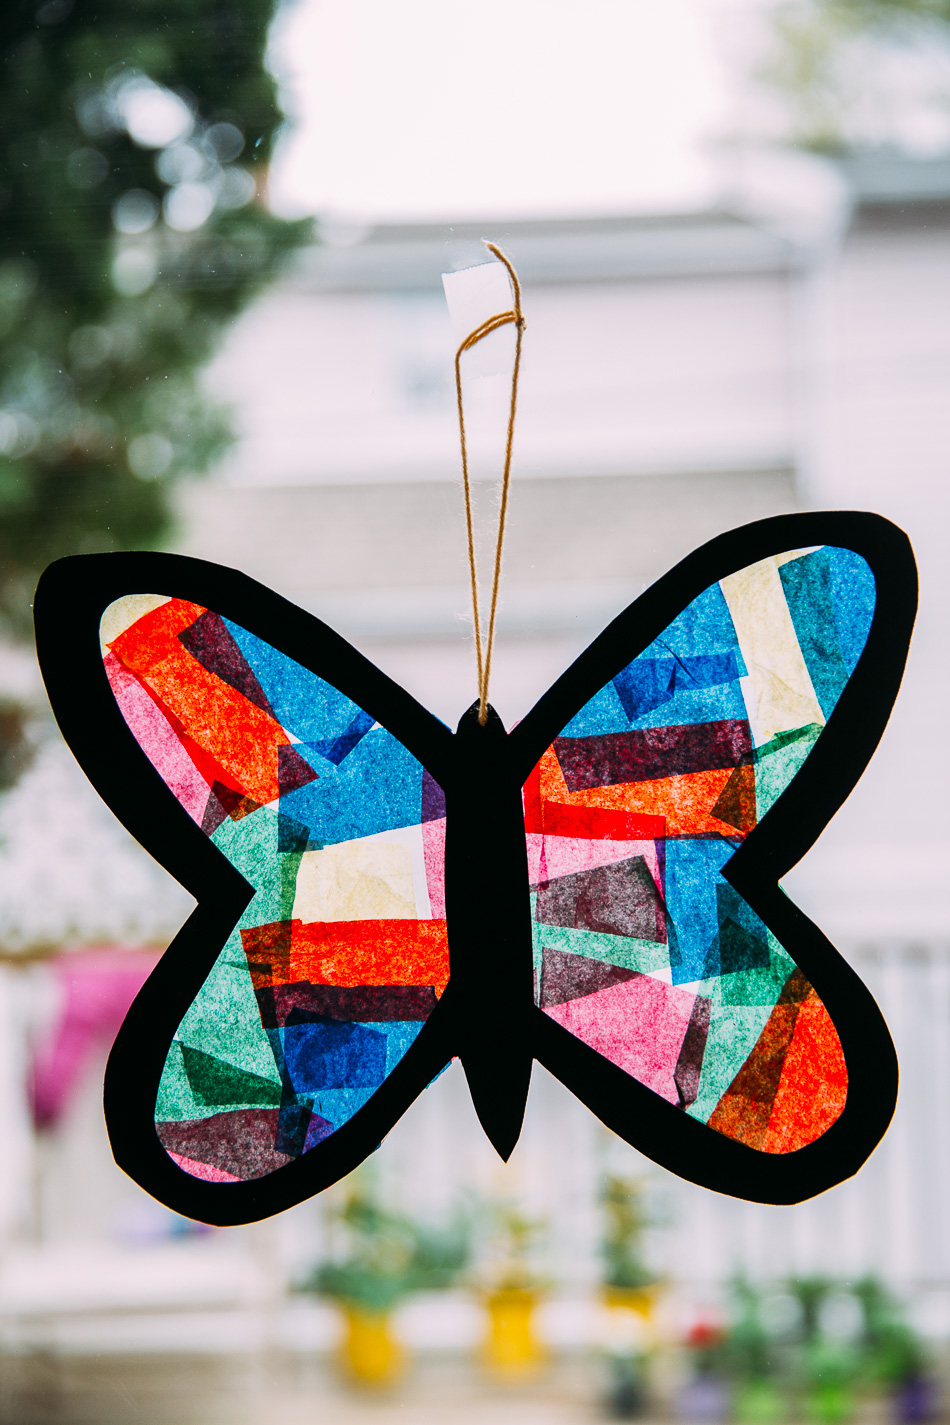
Tissue Paper Stained Glass Butterflies
Hello, friends and happy Monday! After a long winter, spring has finally sprung around here and it’s making me so happy! Birds are singing. The gorgeous flowering trees are in full bloom. Folks are beginning their summer garden preparations. It is such a beautiful time of year and it’s totally got me in the mood for fun, spring crafts.
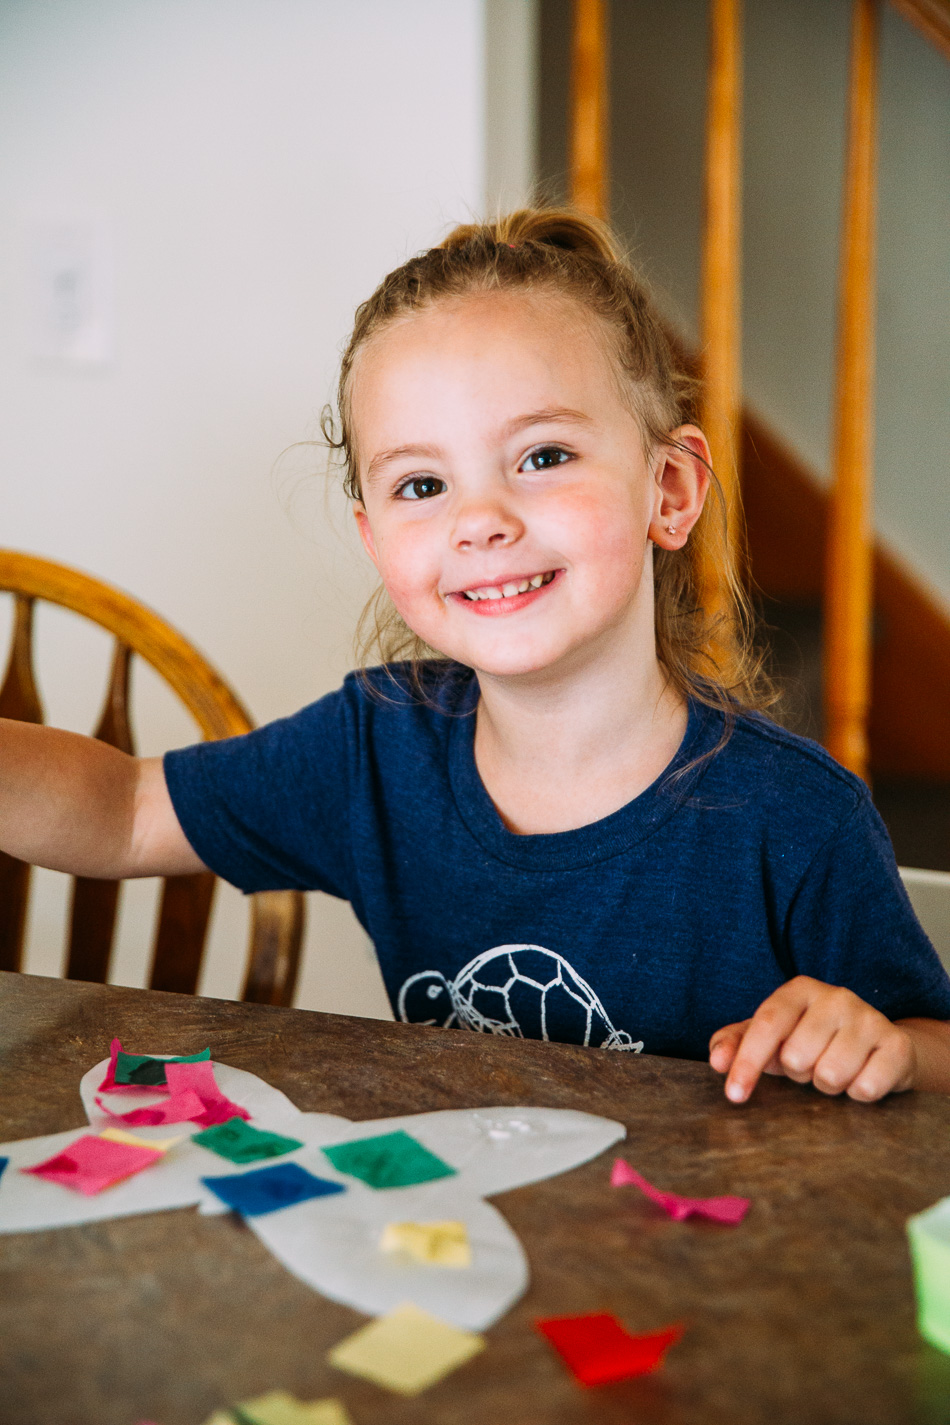
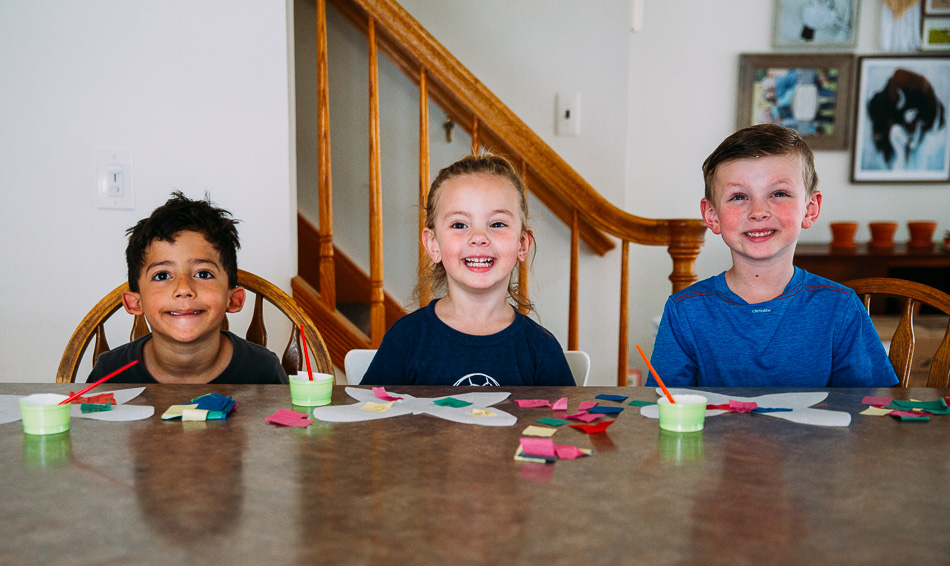
With Mother’s Day right around the corner, I decided to make these “Tissue Paper Stained Glass Butterflies” and handmade cards with the kids for their grandmothers. We headed over to our local Michaels craft store to pick up the supplies for the project and I’m so excited to share it with you.
I’ve put together this little tutorial in case you’d like to make your own butterflies. You can keep it simple and kid-friendly or get as fancy as you’d like with this project. All of the supplies that you’ll need for this project are available at Michaels. While you’re there, be sure to check out their lines of Elmer’s CraftBond & Sharpie products and watch your imagination soar with fun, creative ideas.
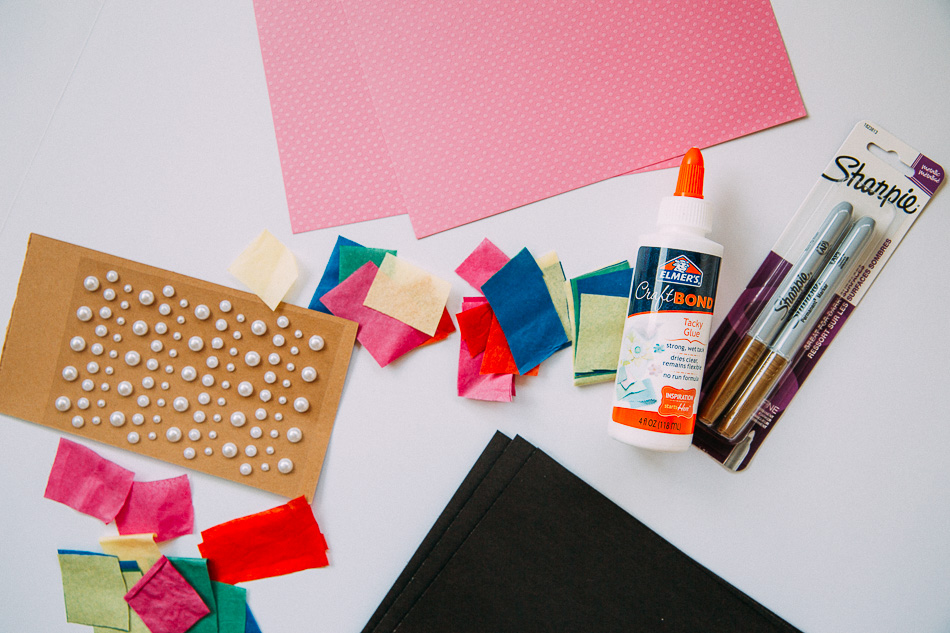
Let’s get into the tutorial. I am including a picture guide along with written instructions to make it nice and easy for you. First thing you’ll want to do is gather your supplies.
For Each Butterfly:
- Elmer’s CraftBond Tacky Glue
- Gold Metallic Sharpie
- 1 sheet of black card stock
- 1 sheet of construction paper (for the pattern, can be re-used for each butterfly)
- 1 sheet of wax or parchment paper
- paint brush
- small cup
- water
- colorful tissue paper cut into small rectangles
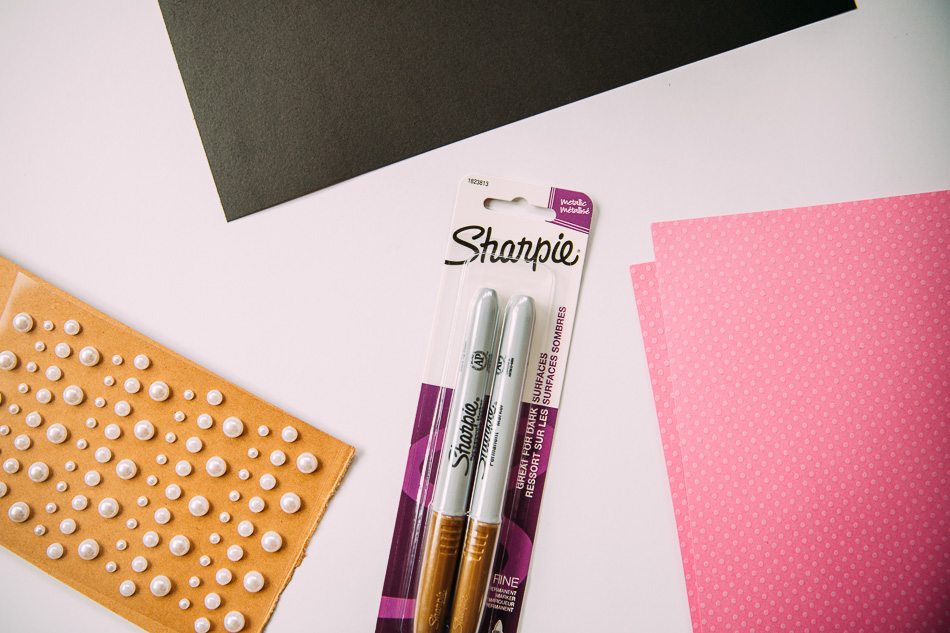
For Each Card:
- Gold Metallic Sharpie
- Elmer’s CraftBond Tacky Glue
- 1 sheet of black card stock
- 1 sheet of pretty craft paper
- round stickers or pearls
Instructions:
Step 1. To create your butterfly pattern for tracing, take your construction paper and fold it in half. Draw one half of your butterfly.
Step 2. Cut the butterfly out and unfold your paper to reveal the pattern.
Step 3. Trace your butterfly pattern onto your black card stock.
Step 4. Cut out your butterfly. If you are making multiple butterflies, you can pile up the paper and cut them all at once.
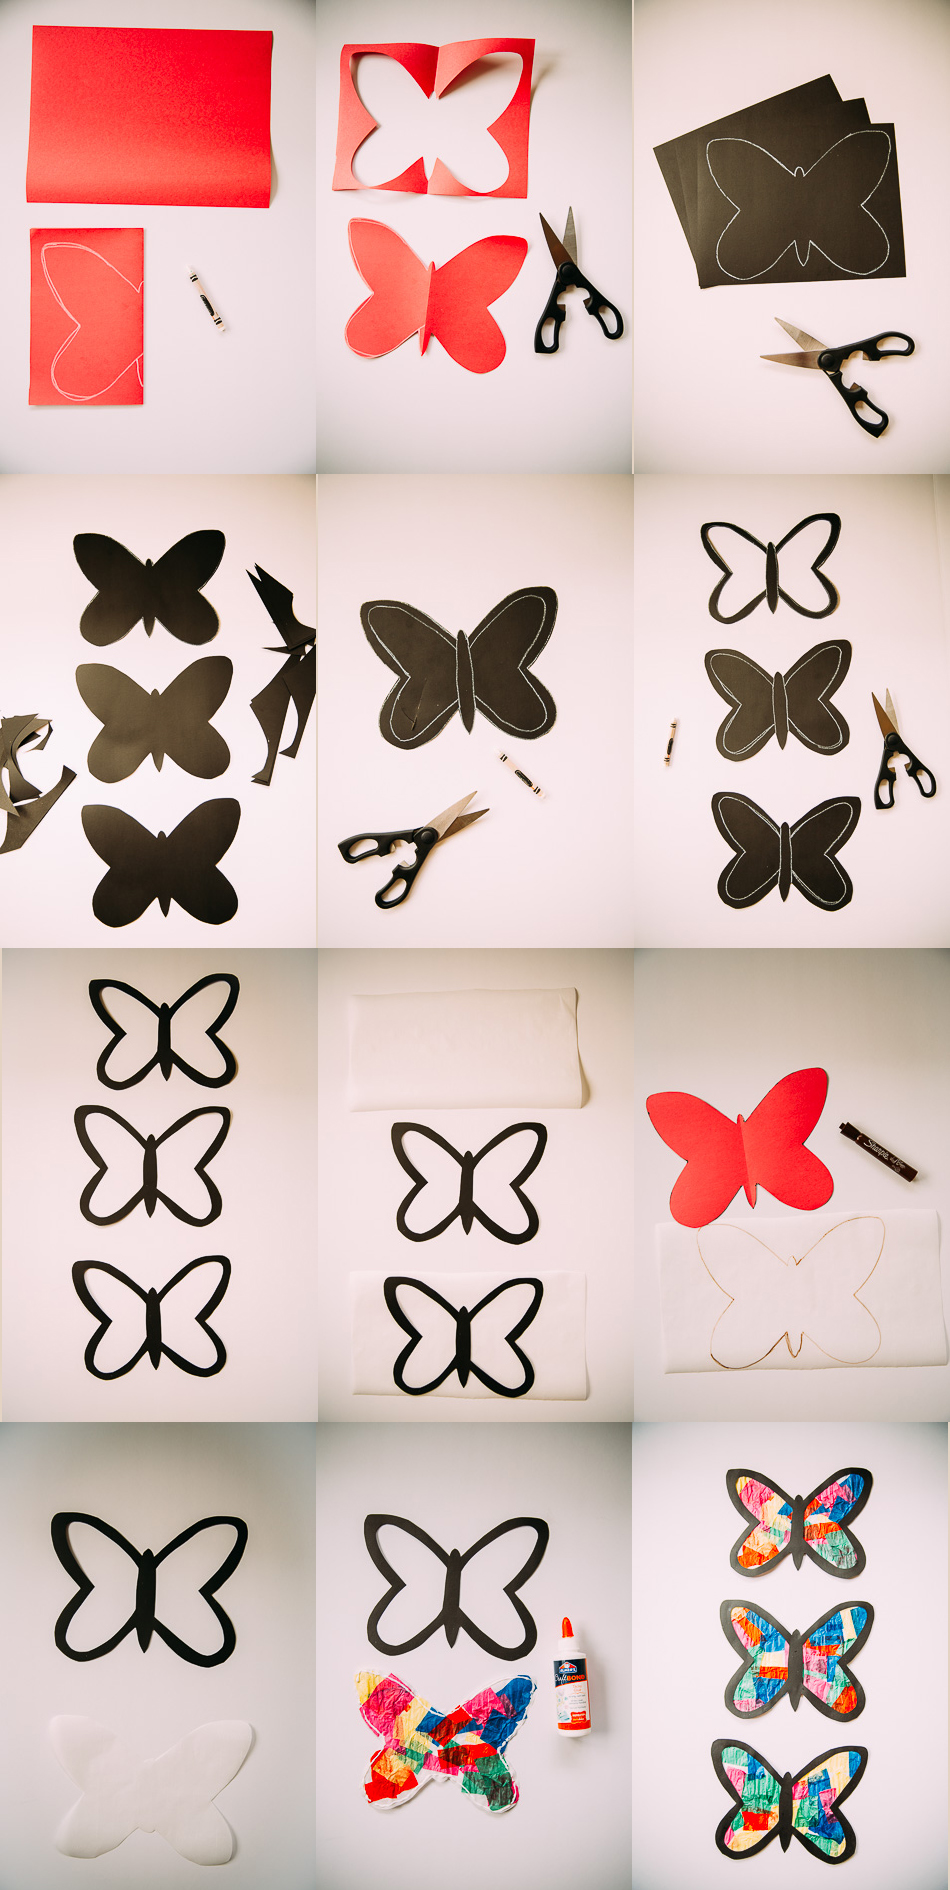
Step 5. Draw the inside of your butterfly. This will show you where to cut to create the holes in the butterfly where you stain glass will go.
Step 6. Cut your sheet of wax or parchment paper. Make sure it is large enough to fit your butterfly. This will be the inside “glass” of the butterfly.
Step 7. Using your pattern once again, trace your butterfly onto the wax or parchment paper.
Step 8. Cut out your butterfly from the paper. Again, if you are making multiple butterflies, you can pile up the paper and cut them all at once.
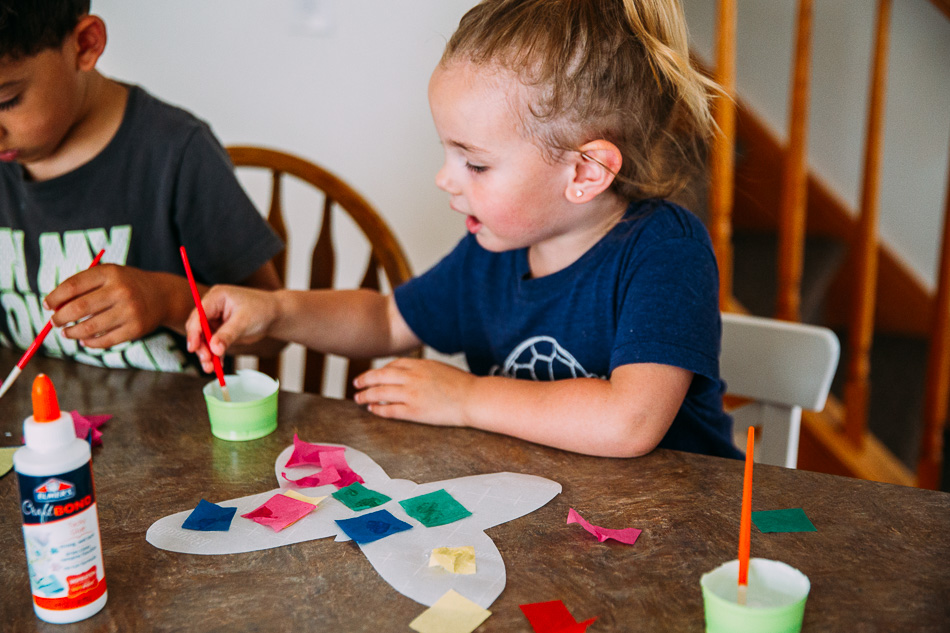
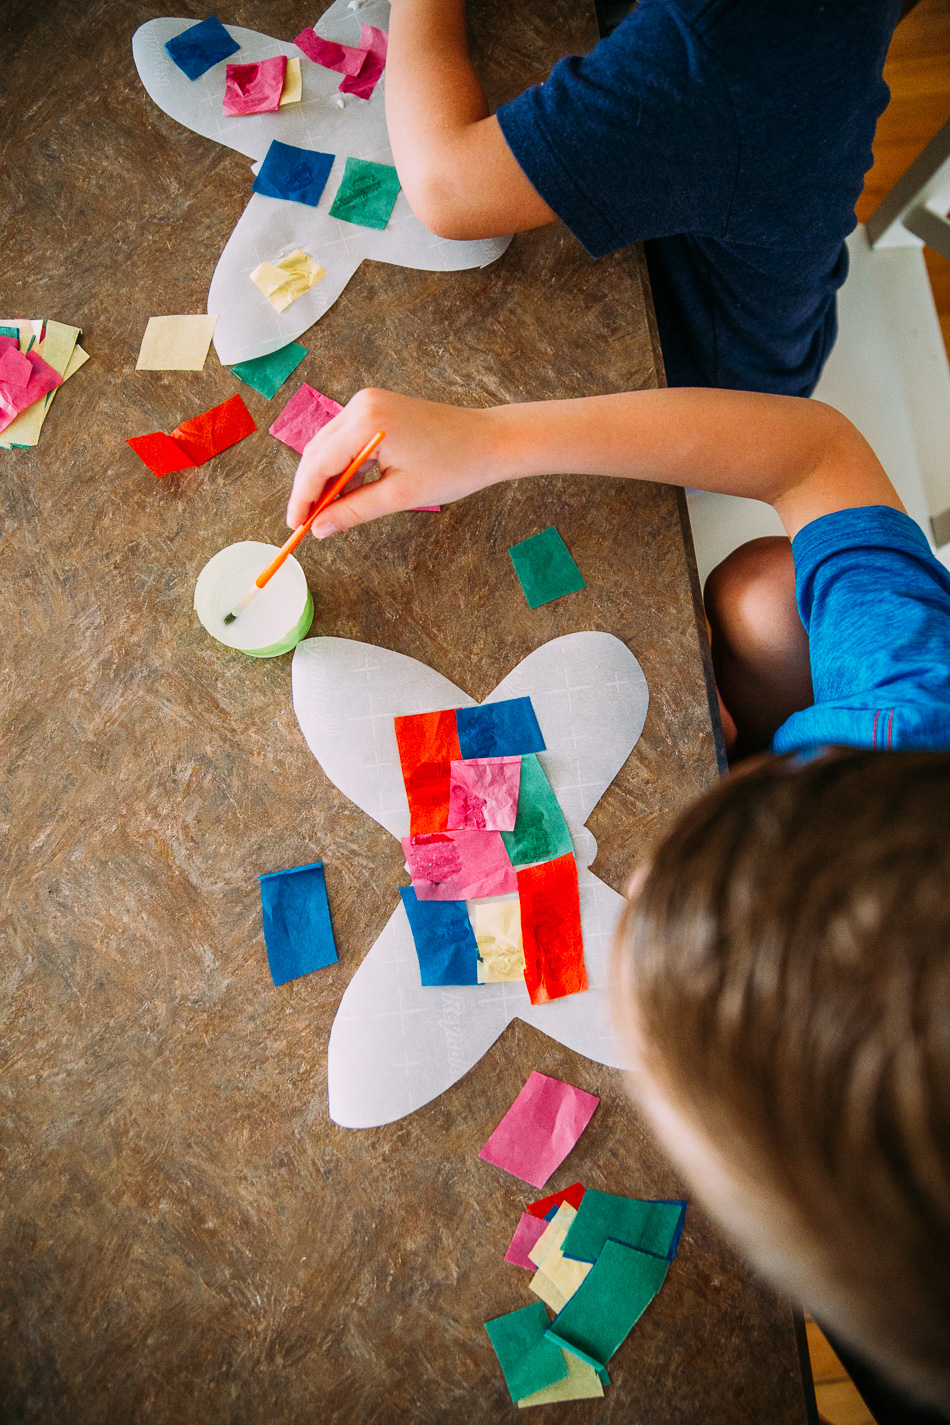
—-> Little kids get involved in the next step. Older kids can get involved earlier, depending on their skill level with scissors.<----
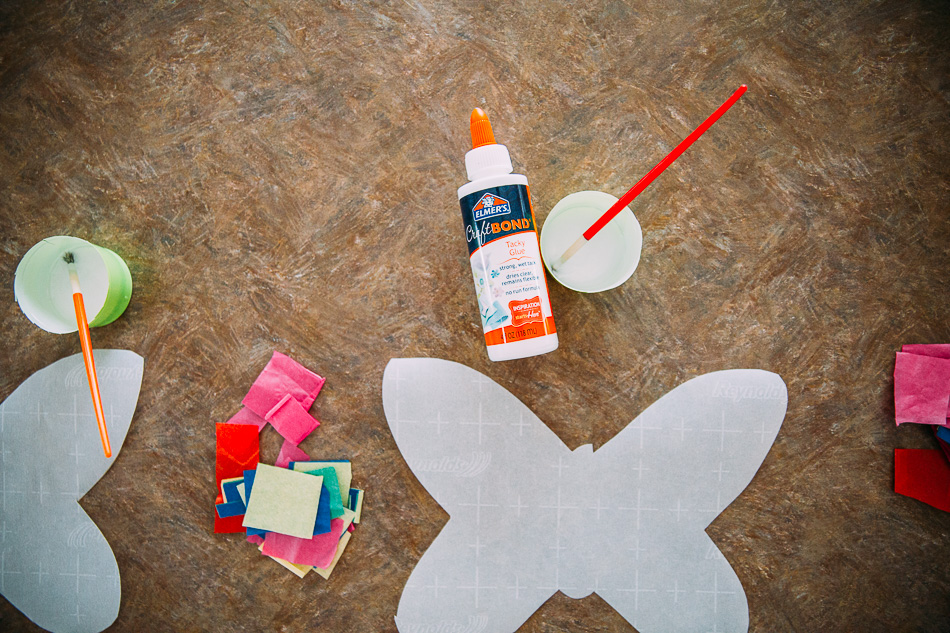
Step 9. In a small cup, mix about a teaspoon of Elmer’s CraftBond Tacky Glue with about a 1/4 teaspoon of water.
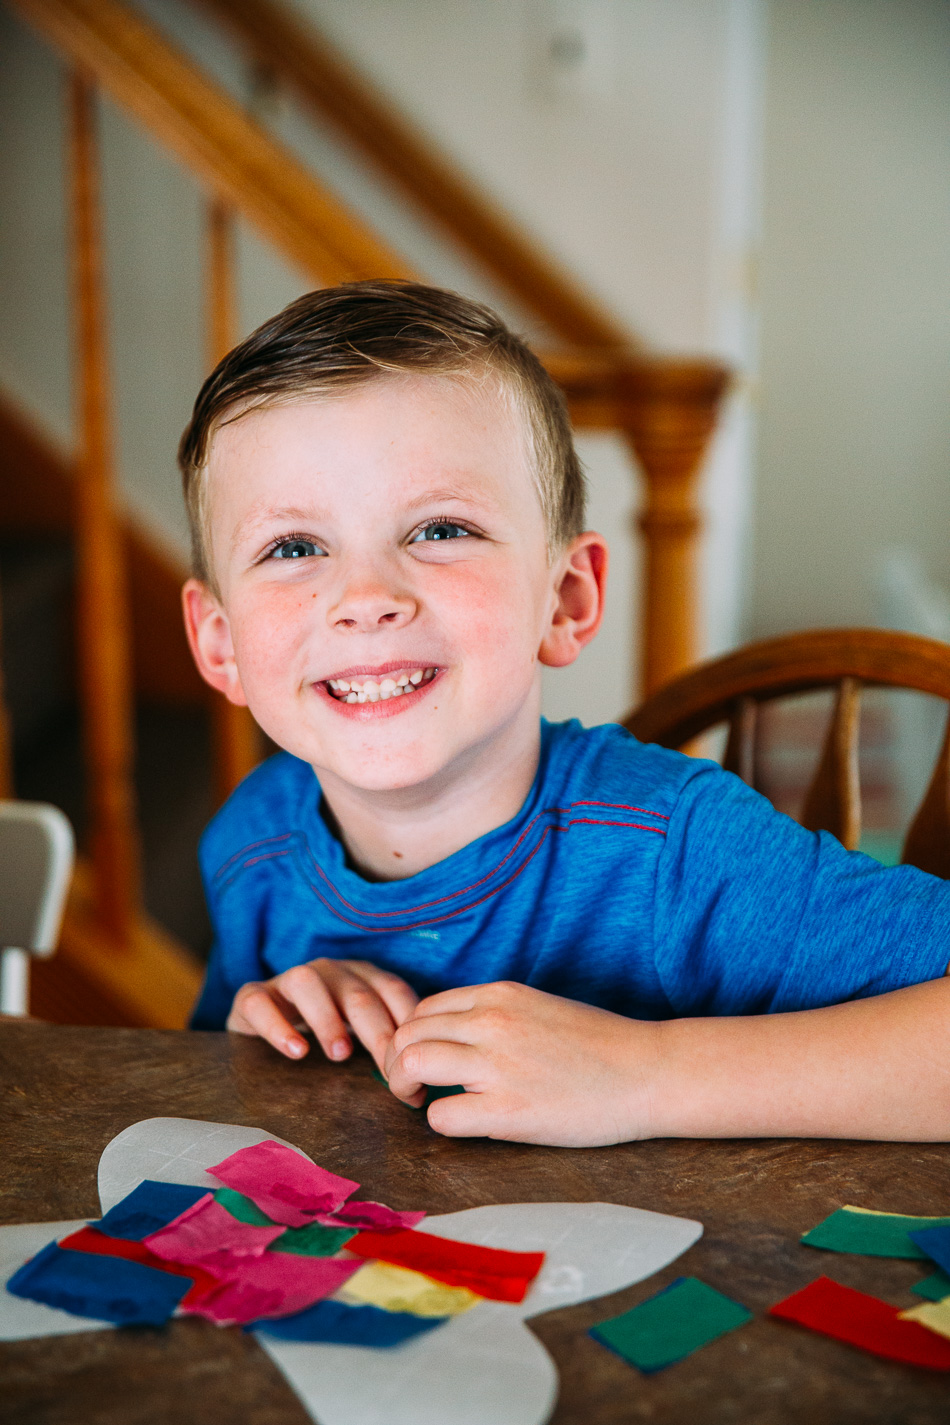
Step 10. With a small paint brush, apply a bit of glue to your waxed or parchment paper. Attach a tissue paper rectangle to each spot of glue. Cover the entire butterfly. You can overlap some pieces too, this will create fun blended colors when the sun shines through your butterfly. Use a little bit more of your glue mixture to wet the edges of each piece so that each piece lays down flat. Don’t worry about the appearance of glue here, it will dry later.
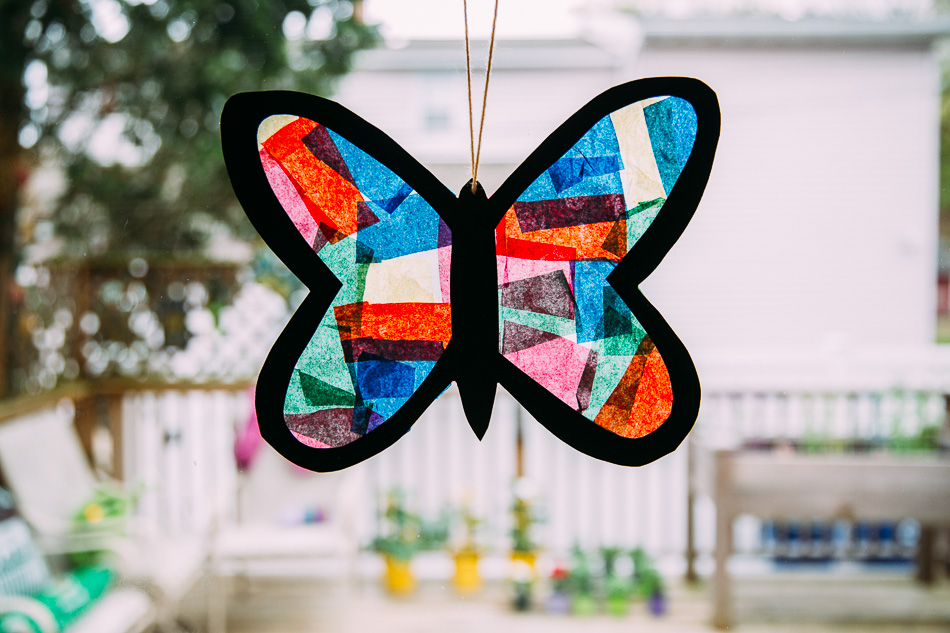
Step 11. Once all of the glue mixture has dried, glue the black butterfly outline on top of your butterfly.
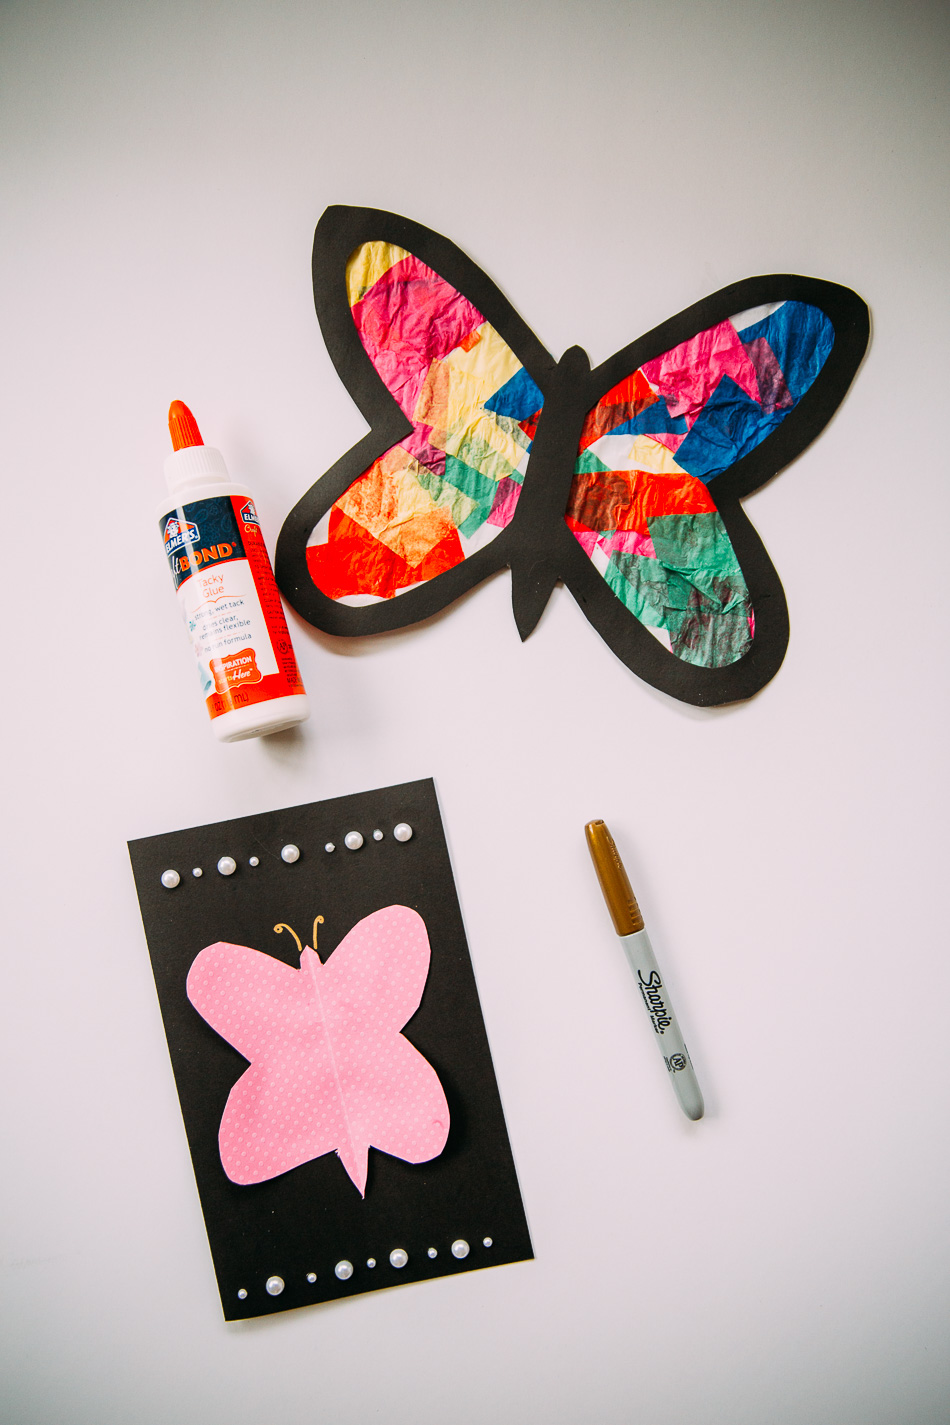
That’s it for the butterflies! Once you’re butterflies are complete, you can get started on your handmade cards. The cards are an opportunity to get as creative as you’d like and to allow the kiddos to get creative too. We cut out another butterfly from the pretty craft paper that we picked up at Michaels. Then each child glued their little butterflies onto the front of their cards with the Elmer’s CraftBond Tacky Glue. They also used their glue to decorate their cards with pretty pearls.
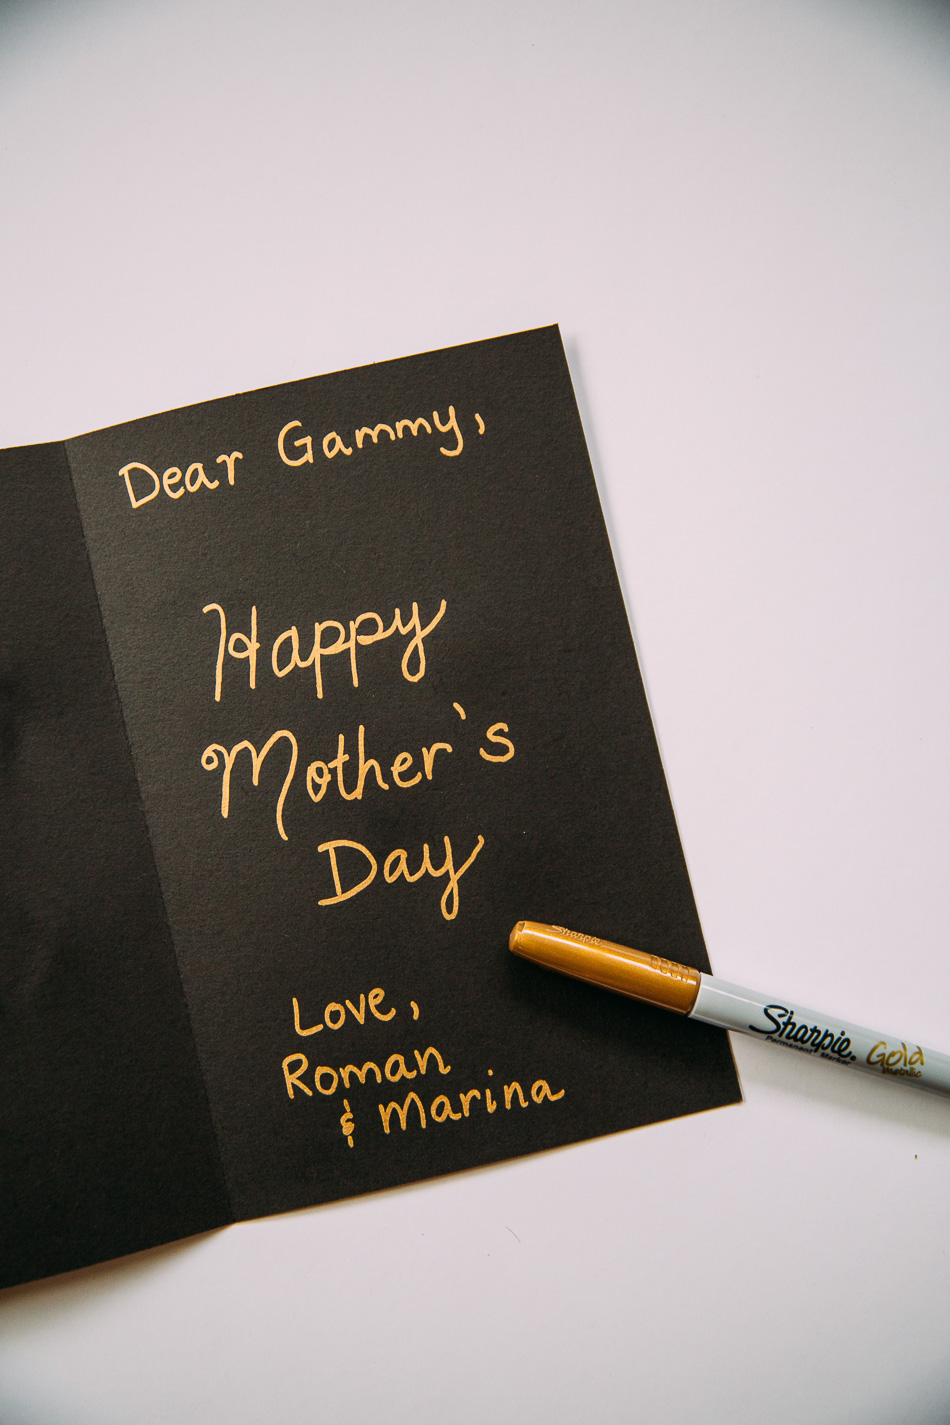
The final step in our project was writing a sweet message inside of each card. I wanted to use black card stock to match the black butterfly outlines. I picked up these gorgeous Gold Metallic Sharpies at Michaels and used them to write on the black paper. I couldn’t believe how bright and smooth the gold color showed up on the black, such a beautiful finishing touch to our project.
I hope that you enjoyed this little tutorial. We had so much fun putting it together for you. The kids can’t wait to share these sweet gifts with their grandmothers. Wishing you all a happy upcoming Mother’s Day. Lots of love always–

This post is part of a social shopper marketing insight campaign with Pollinate Media Group® and Newell Brands, but all my opinions are my own. #pmedia #GetCraftyWithElmers http://my-disclosur.es/OBsstV
Comments (1)
Anonymous
March 11, 2022 at 12:41 pm
Fun idea. I’m looking at doing it with my middle school students. We are needing a break and a quick, fun activity. When I did it growing up, we had 2 cutouts of what we were doing and then put the wax paper between so both sides look nice. Just an idea….