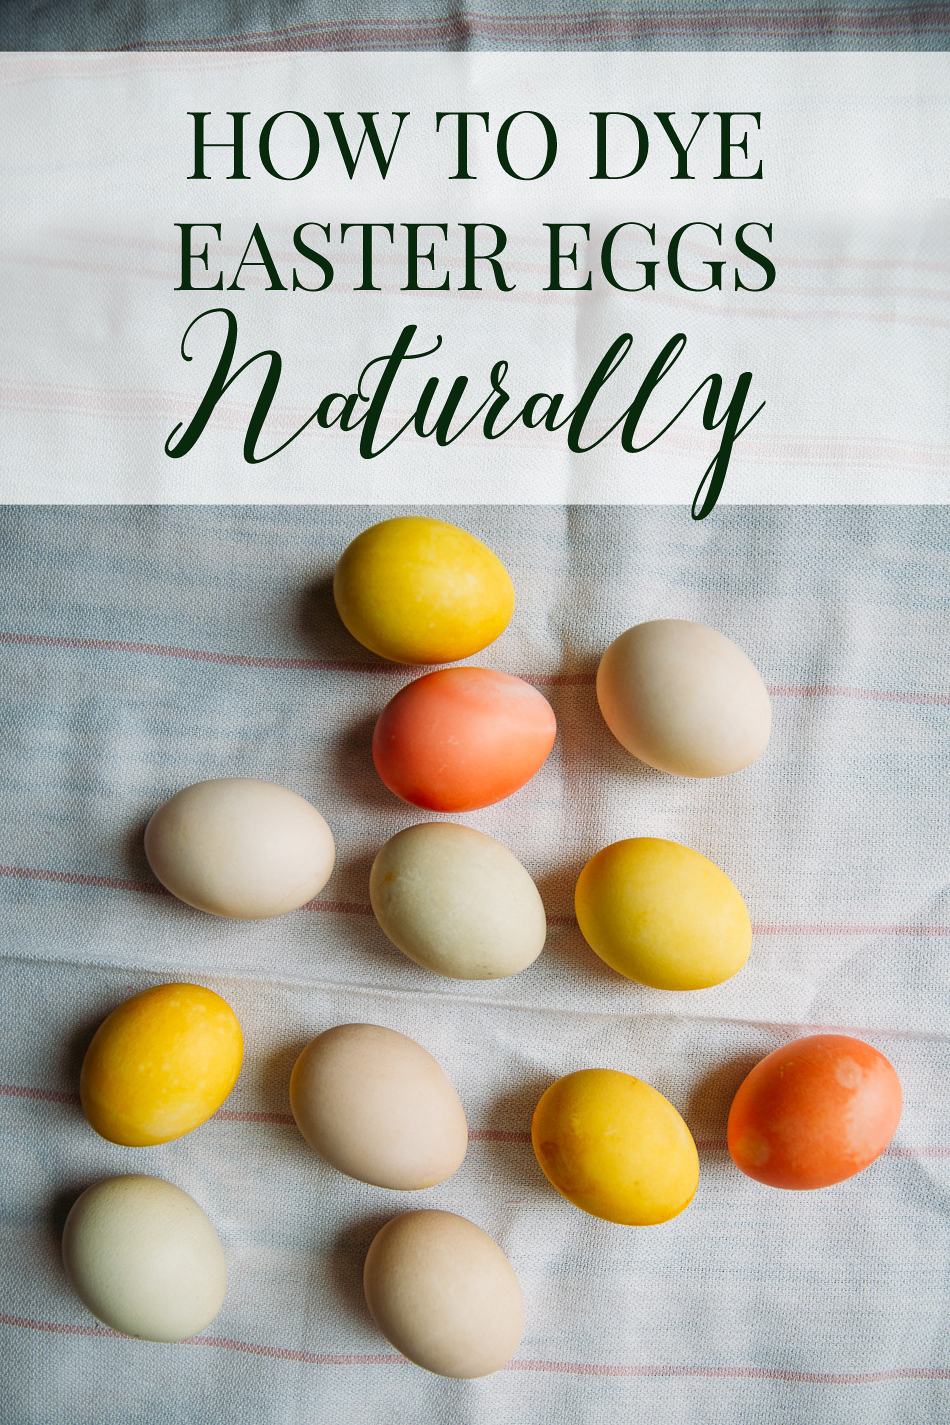
How to Dye Easter Eggs Naturally



With Easter coming up this weekend, we decided to dye some eggs today. I have been wanting to try my hand at dyeing eggs naturally for a few years now and I was so grateful to finally have the space and opportunity to do it.
There are so many benefits to dying eggs naturally. You use all natural foods and spices, so there is nothing toxic getting into your eggs. You eliminate waste because you can use your own bowls and cups instead of disposable plastic cups. It’s a win for your health and for the environment.
There are lots of methods for dying eggs naturally, but I decided to simply have a go at it without consulting any guides. I used foods and spices that we already had in our pantry and considered the process to be an experiment. I didn’t know how the eggs would turn out, but I was so pleased with our results. If you would like to give it a try yourself, read on for my little guide that explains how to dye Easter eggs naturally.
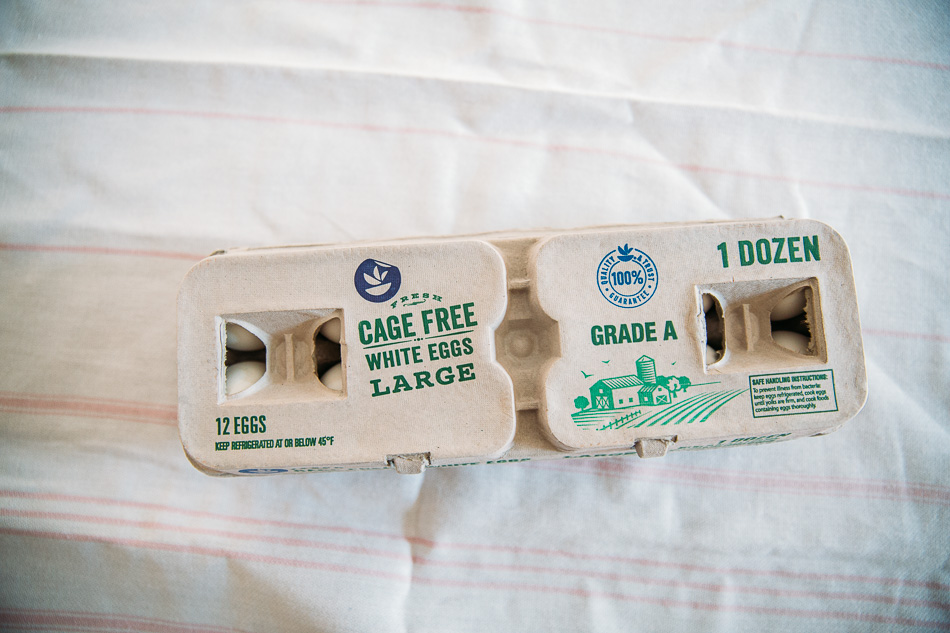
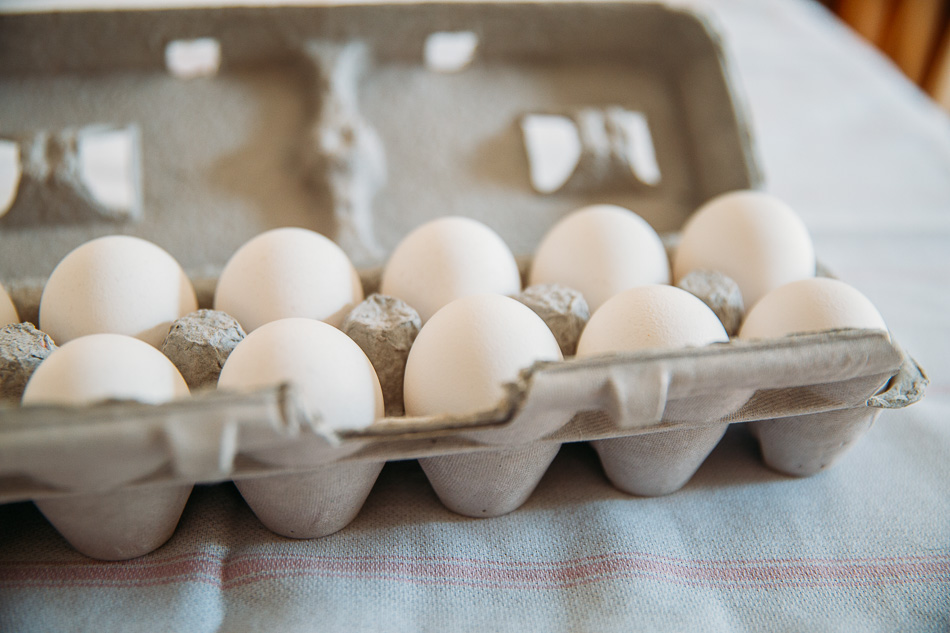
First you’ll need eggs, of course. I usually prefer to purchase cage-free, organic eggs from our grocery store but they did not have any of those in white. I think it’s important to start with white eggs, as brown eggs won’t take color as nicely. So I opted for cage-free, white eggs which worked beautifully for this project.
Hard boil your eggs and then set them aside while you prepare your dye containers.
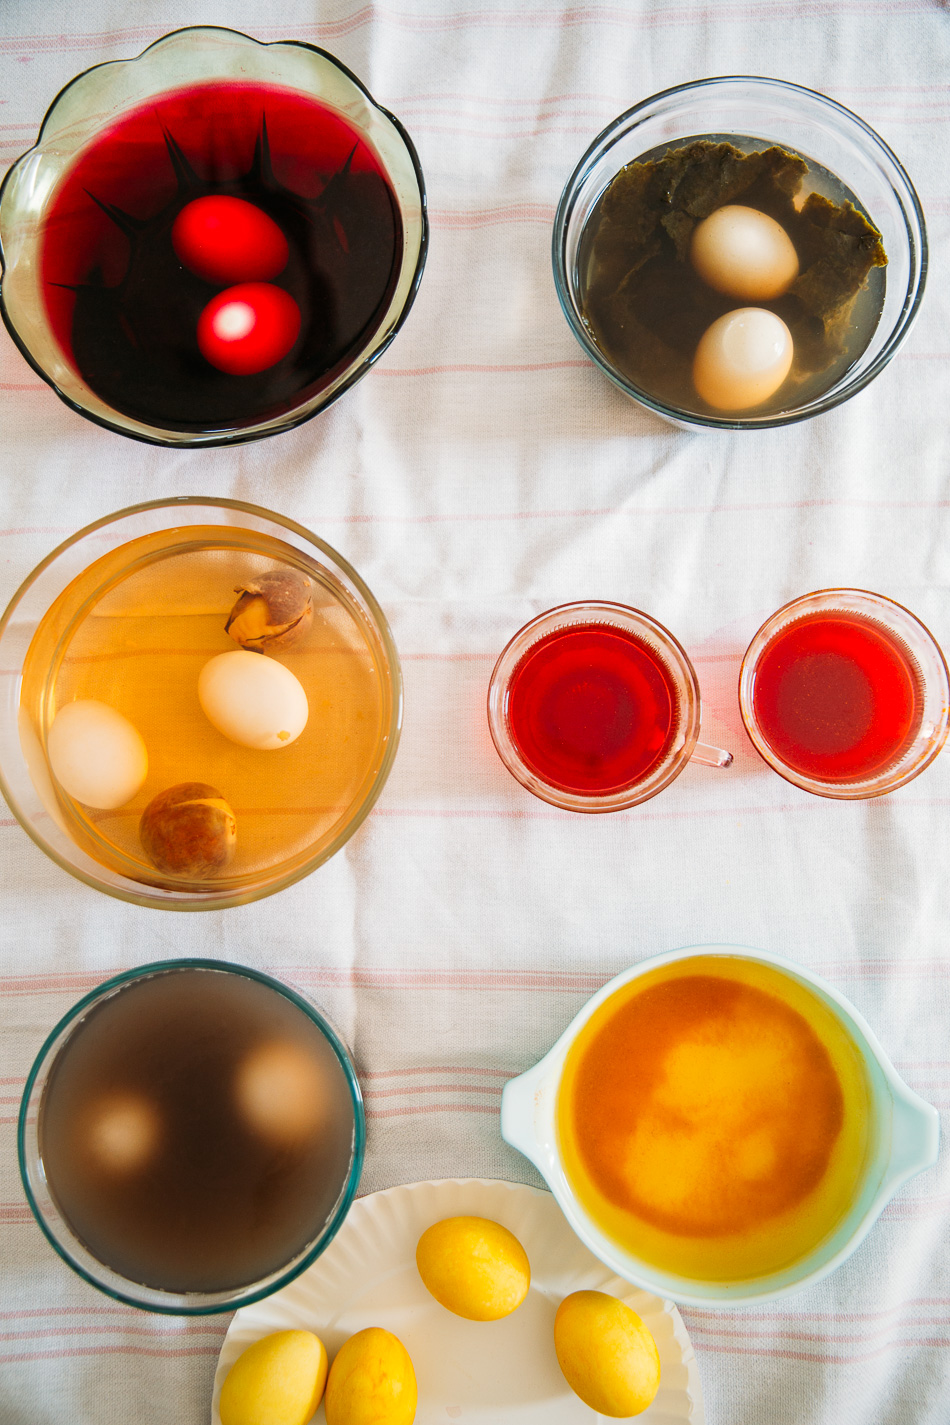

I simply used an assortment of glass bowls and cups. Some of them were a bit too shallow which led to spills and eggs that weren’t entirely covered. If you feel very particular, you can make sure that all of your containers are deep enough to cover your eggs before you begin.
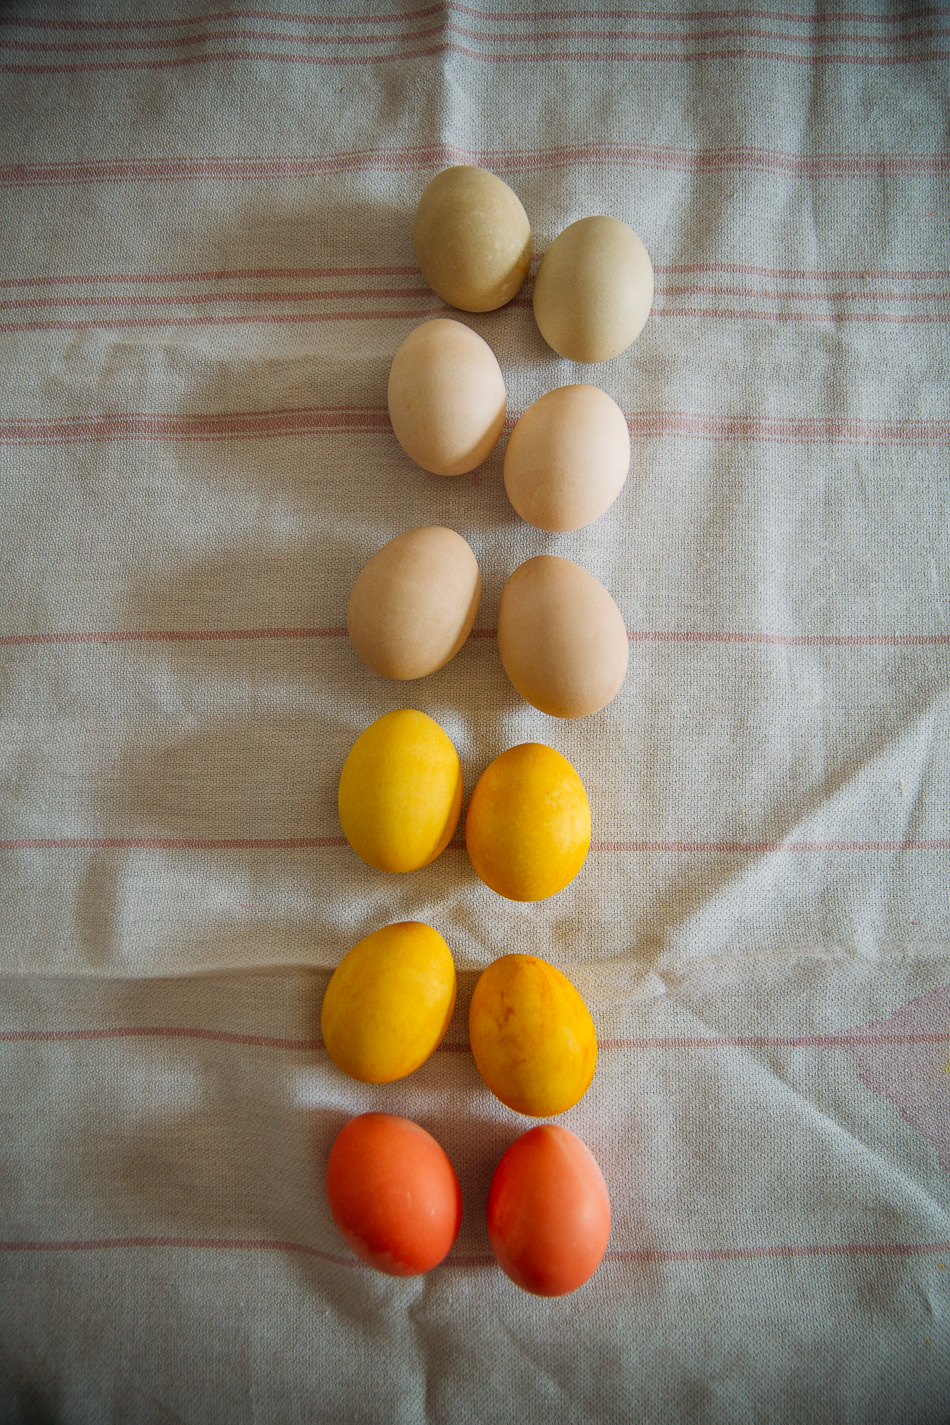
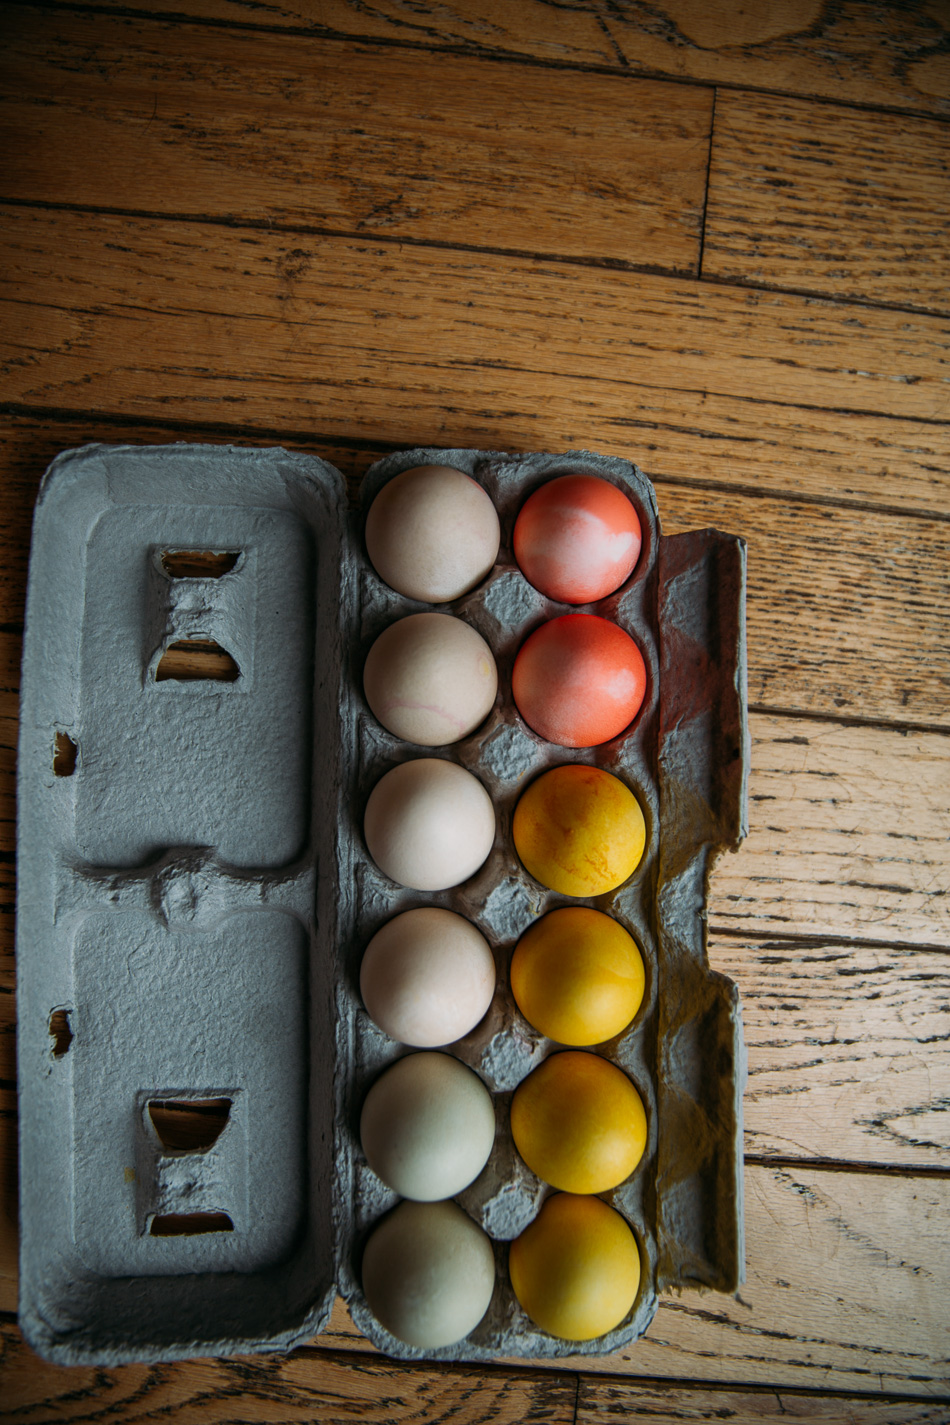
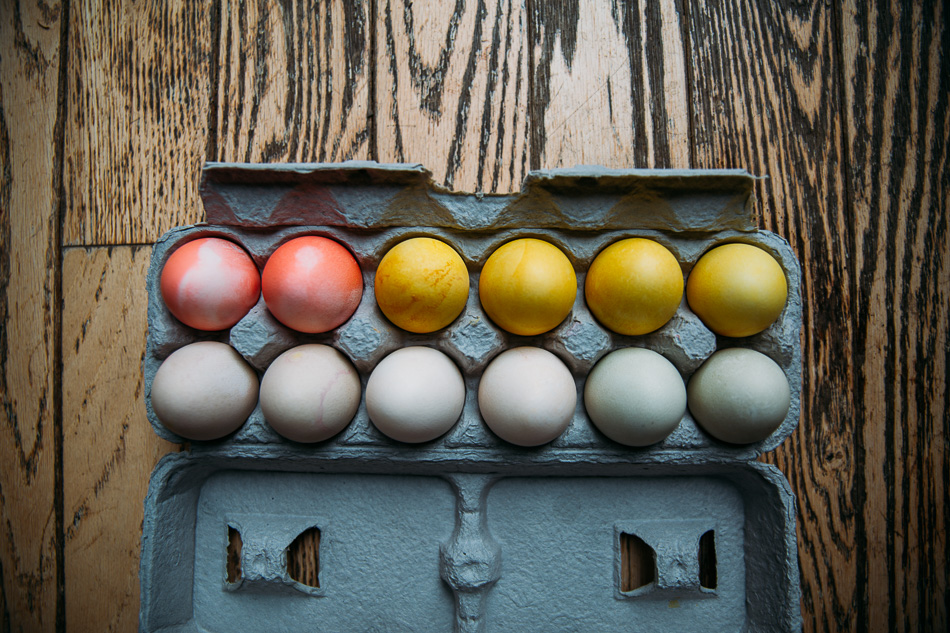
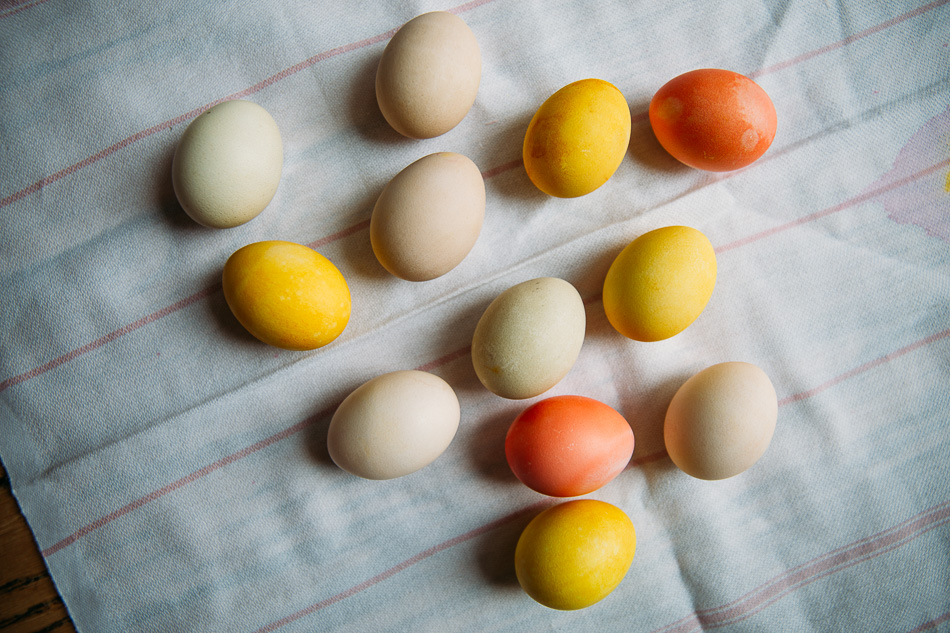
As for my dyes, I created six different colors.
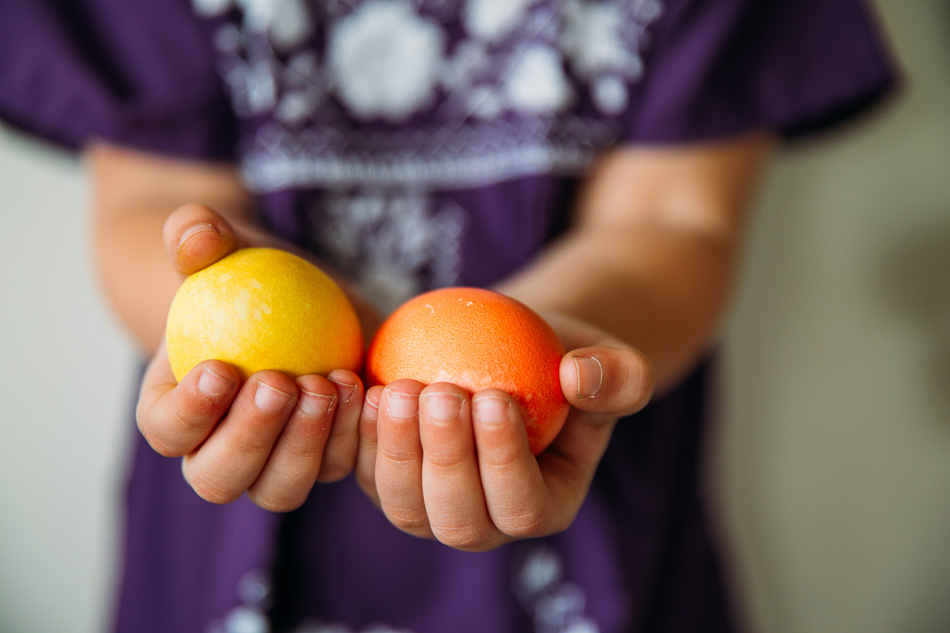
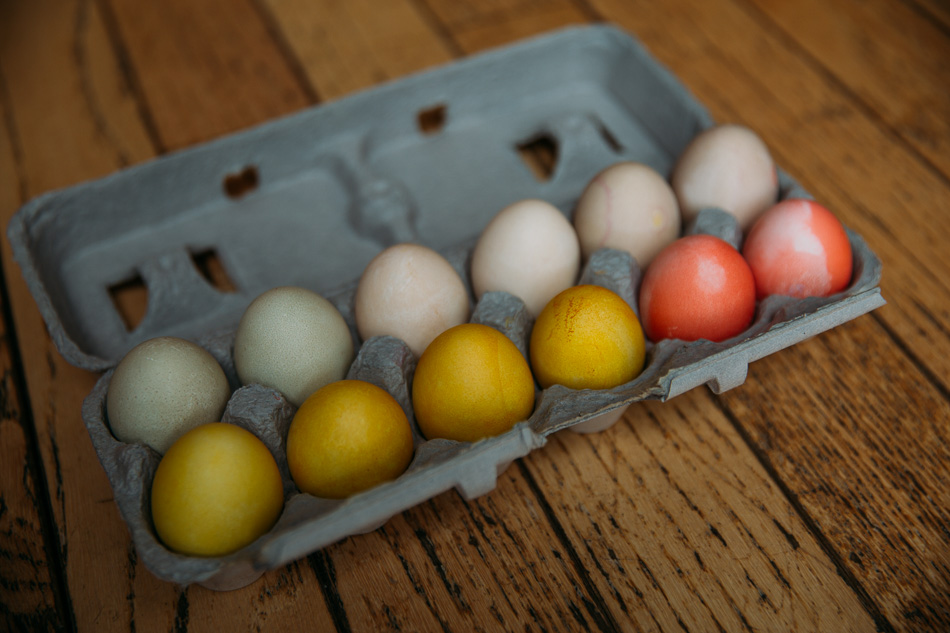
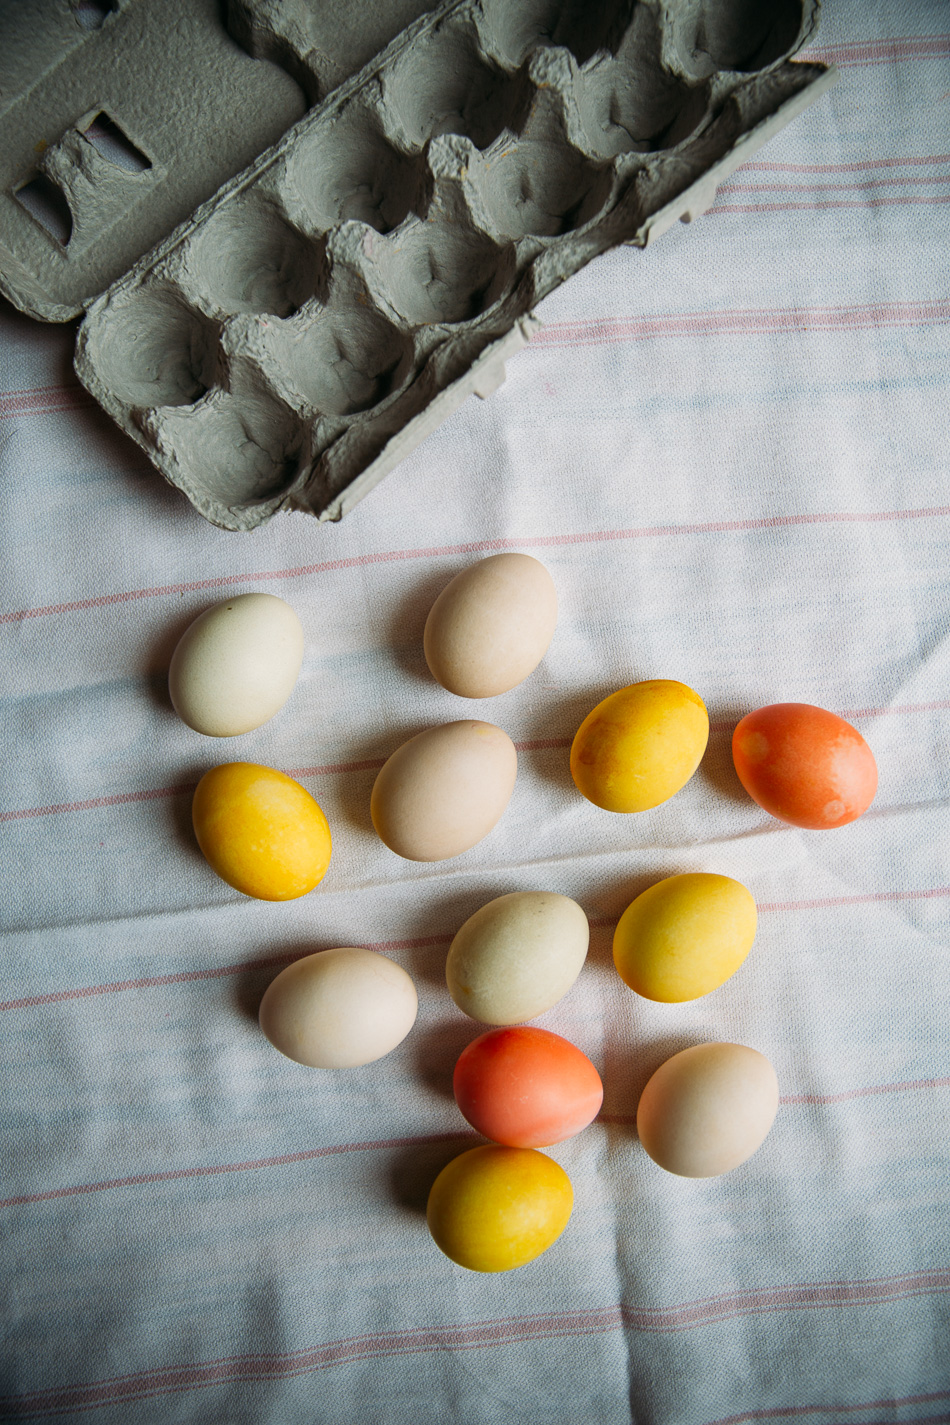
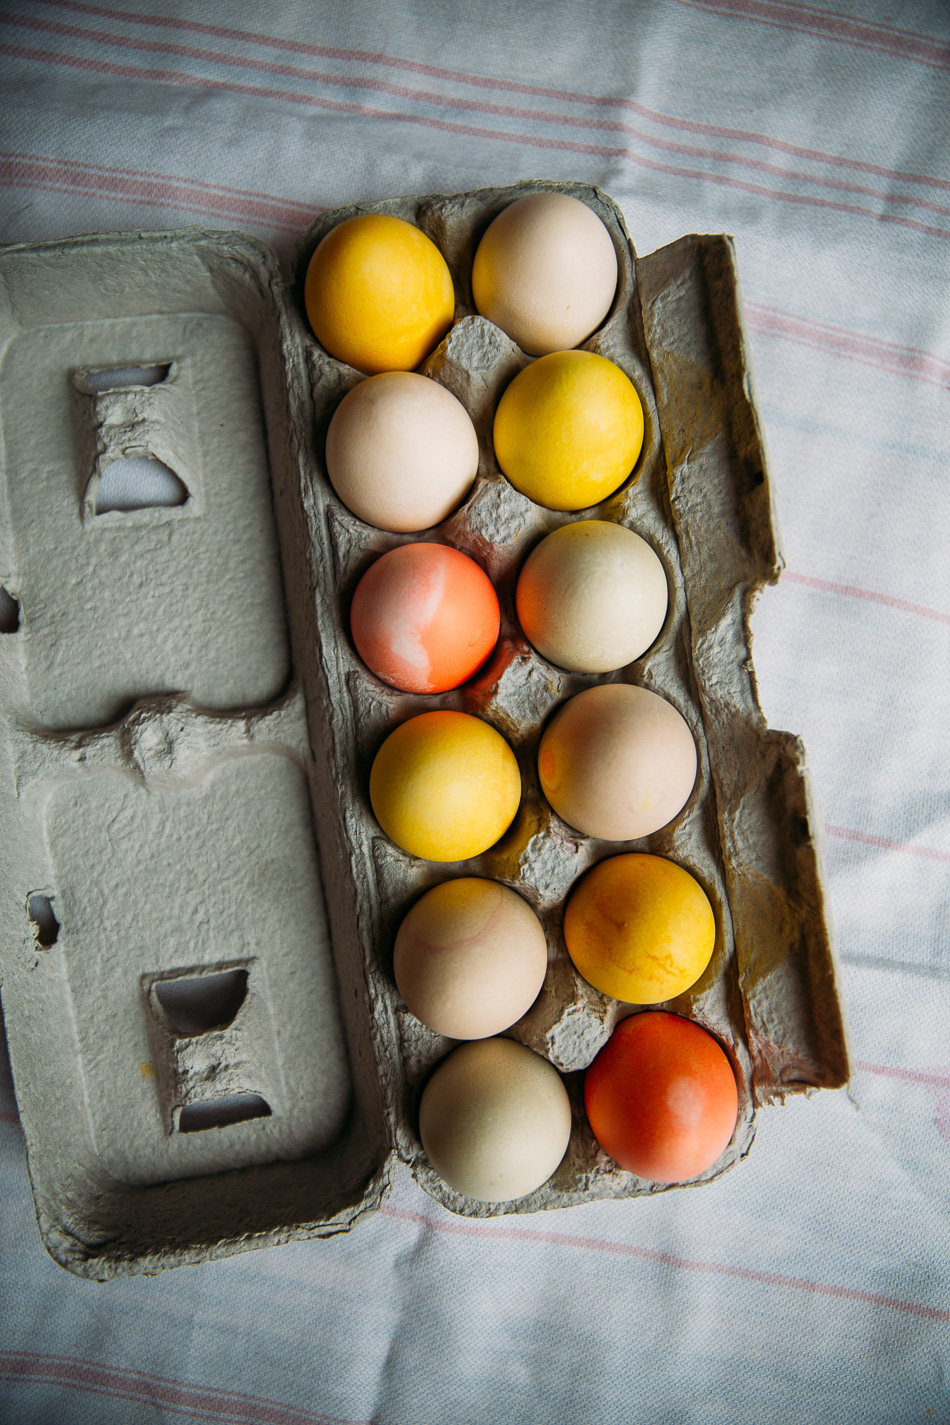
1. Turmeric — Turmeric is the easiest thing to dye with. It dyes anything it touches almost instantly. It will create very bright yellow eggs. You’ll only need to keep your eggs submerged in turmeric for about a half an hour or so to achieve the yellow that you see in my photographs.
2. Cranberry Juice — The pink/red eggs that you see in my pictures were made using cranberry juice. Initially I tried to dye these eggs with black bean juice, hoping to achieve a blue gray color. However, after well over an hour of sitting, the eggs weren’t taking the color. Black bean juice was a fail. So I emptied half of the bowl out and poured cranberry juice in its place. The eggs took the color from the juice quickly after that. A half an hour will be sufficient here.
3. Beet Juice — You’ll notice eggs in two different shades of light pink/brown. The darker of the two shades came from the beet juice. I was surprised that the beet juice did not produce a quick result. I had to let the eggs sit in the beet juice for several hours to achieve the light shade that you see pictured. It was worth the wait, however, because I think it came out lovely.
4. Avocado Pits — The lighter of the light pink/brown shades was produced by using avocado pits. I boiled the pits for about five minutes. Then I let the eggs sit in the boiled water, along with the pits themselves, for several hours. The color isn’t very bright, but I am pleased with the result.
5. Seaweed — Initially I was hoping to achieve a green dye using green bean juice. Like the black bean juice, this did not work at all. Eventually I gave up on the green bean juice and decided to try seaweed. I boiled two full sheets of seaweed for a few minutes. Then I let the eggs sit in the boiled water, along with the seaweed, for several hours. Once again, this green isn’t very bright, but I love it as well.
6. Turmeric + Beet Juice — Finally, you will notice two slightly different shades of yellow among my eggs. The darker eggs were a result of mixing turmeric with beet juice. I was actually hoping to achieve an orange color here. In hindsight, I should have mixed the turmeric with the cranberry juice instead of the beet juice. Perhaps then I would have gotten more orange than yellow.
I should note that in all of these cases I mixed the various ingredients with hot water. So the dyes were fairly diluted. This is certainly not an exact science and I imagine that experimentation would be beautiful.
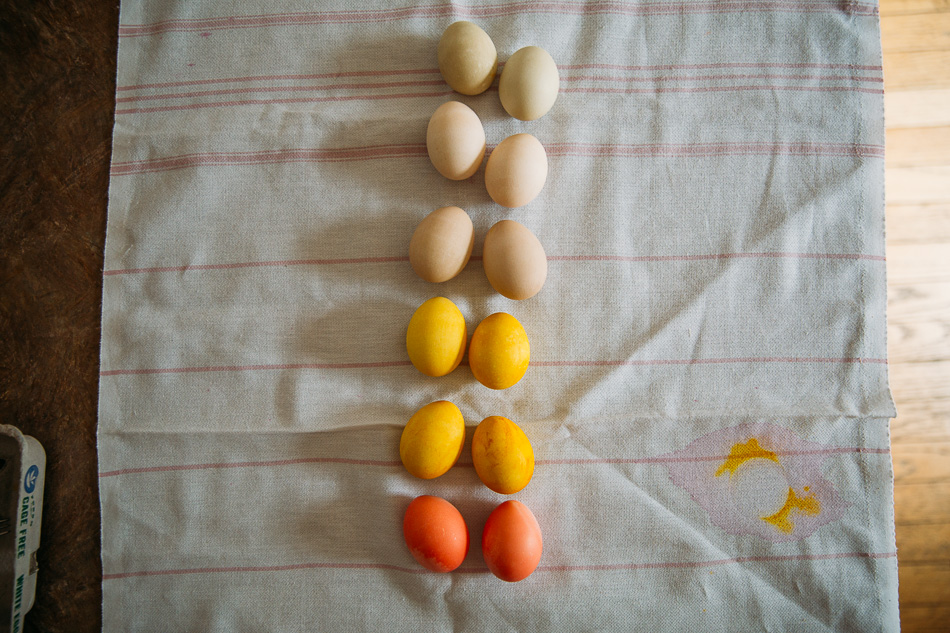
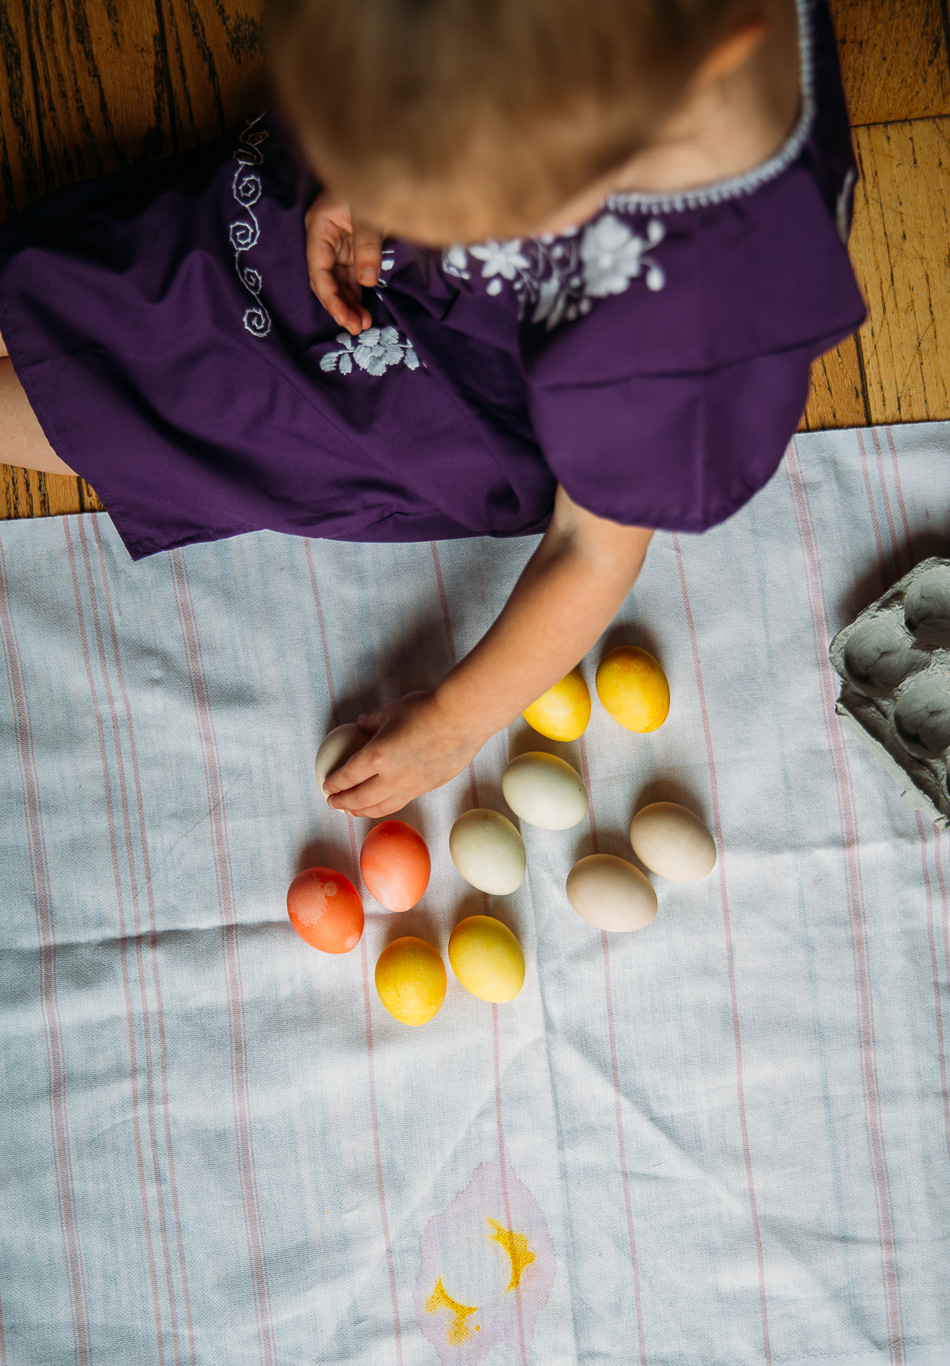
Once you have all of your dye containers ready, gently place your eggs inside of each one using a slotted spoon. You will allow your eggs to soak until you achieve your desired color. Naturally some will take longer than others. In our case, some eggs only needed a half an hour, while others soaked for the entire afternoon. In the future, I might like to try this again and allow our eggs to sit overnight. It’s all up to you and, most of all, you should have fun experimenting.

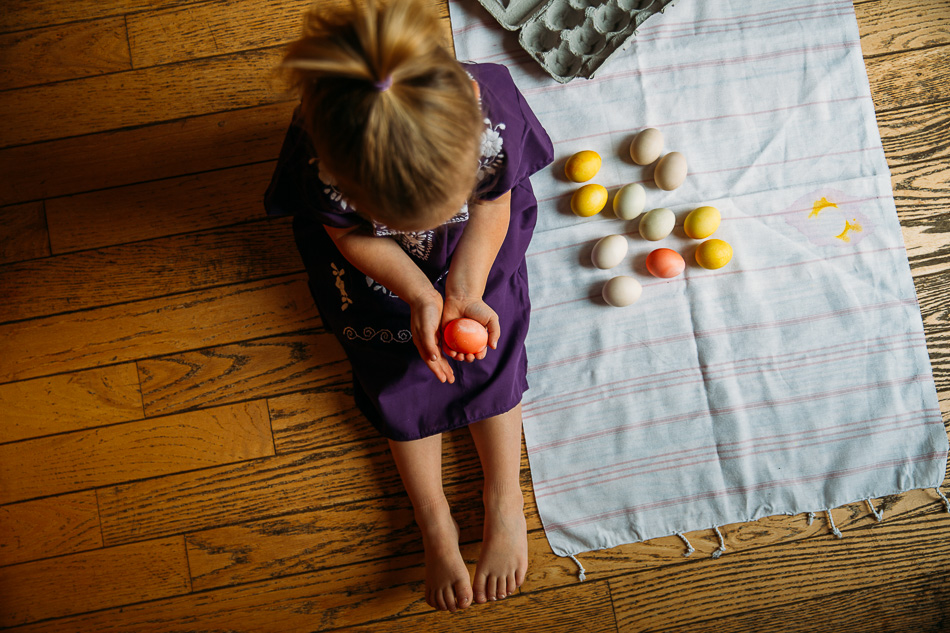
^^^ She is such a little goofball.

^^^ But so gorgeous, inside & outside, too.
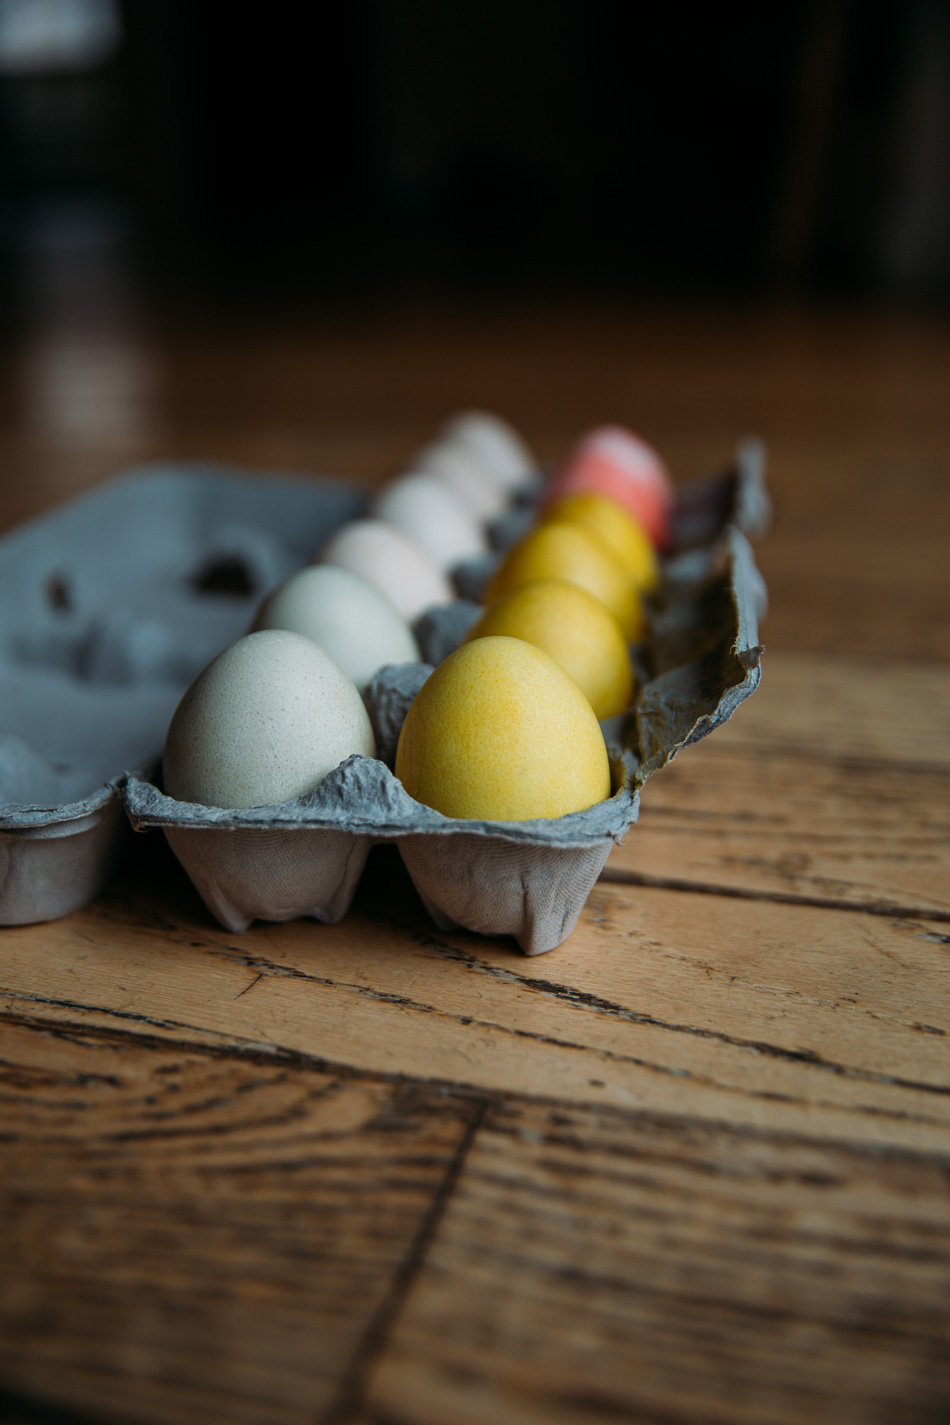

Thank you for reading friends. I hope that you enjoyed this little guide. If you have any questions or suggestions on how to dye Easter eggs naturally, please let me know in the comments.

P.S. For those who have asked, Marina’s dress can be found here.

Comments (2)
Anonymous
March 28, 2018 at 9:52 am
Will try next year with ferris my grandson.
Dena
March 28, 2018 at 4:42 pm
Thanks for stopping by Ellen! I’m sure you’ll have a great time with Ferris. Happy Easter! XOXOXO